
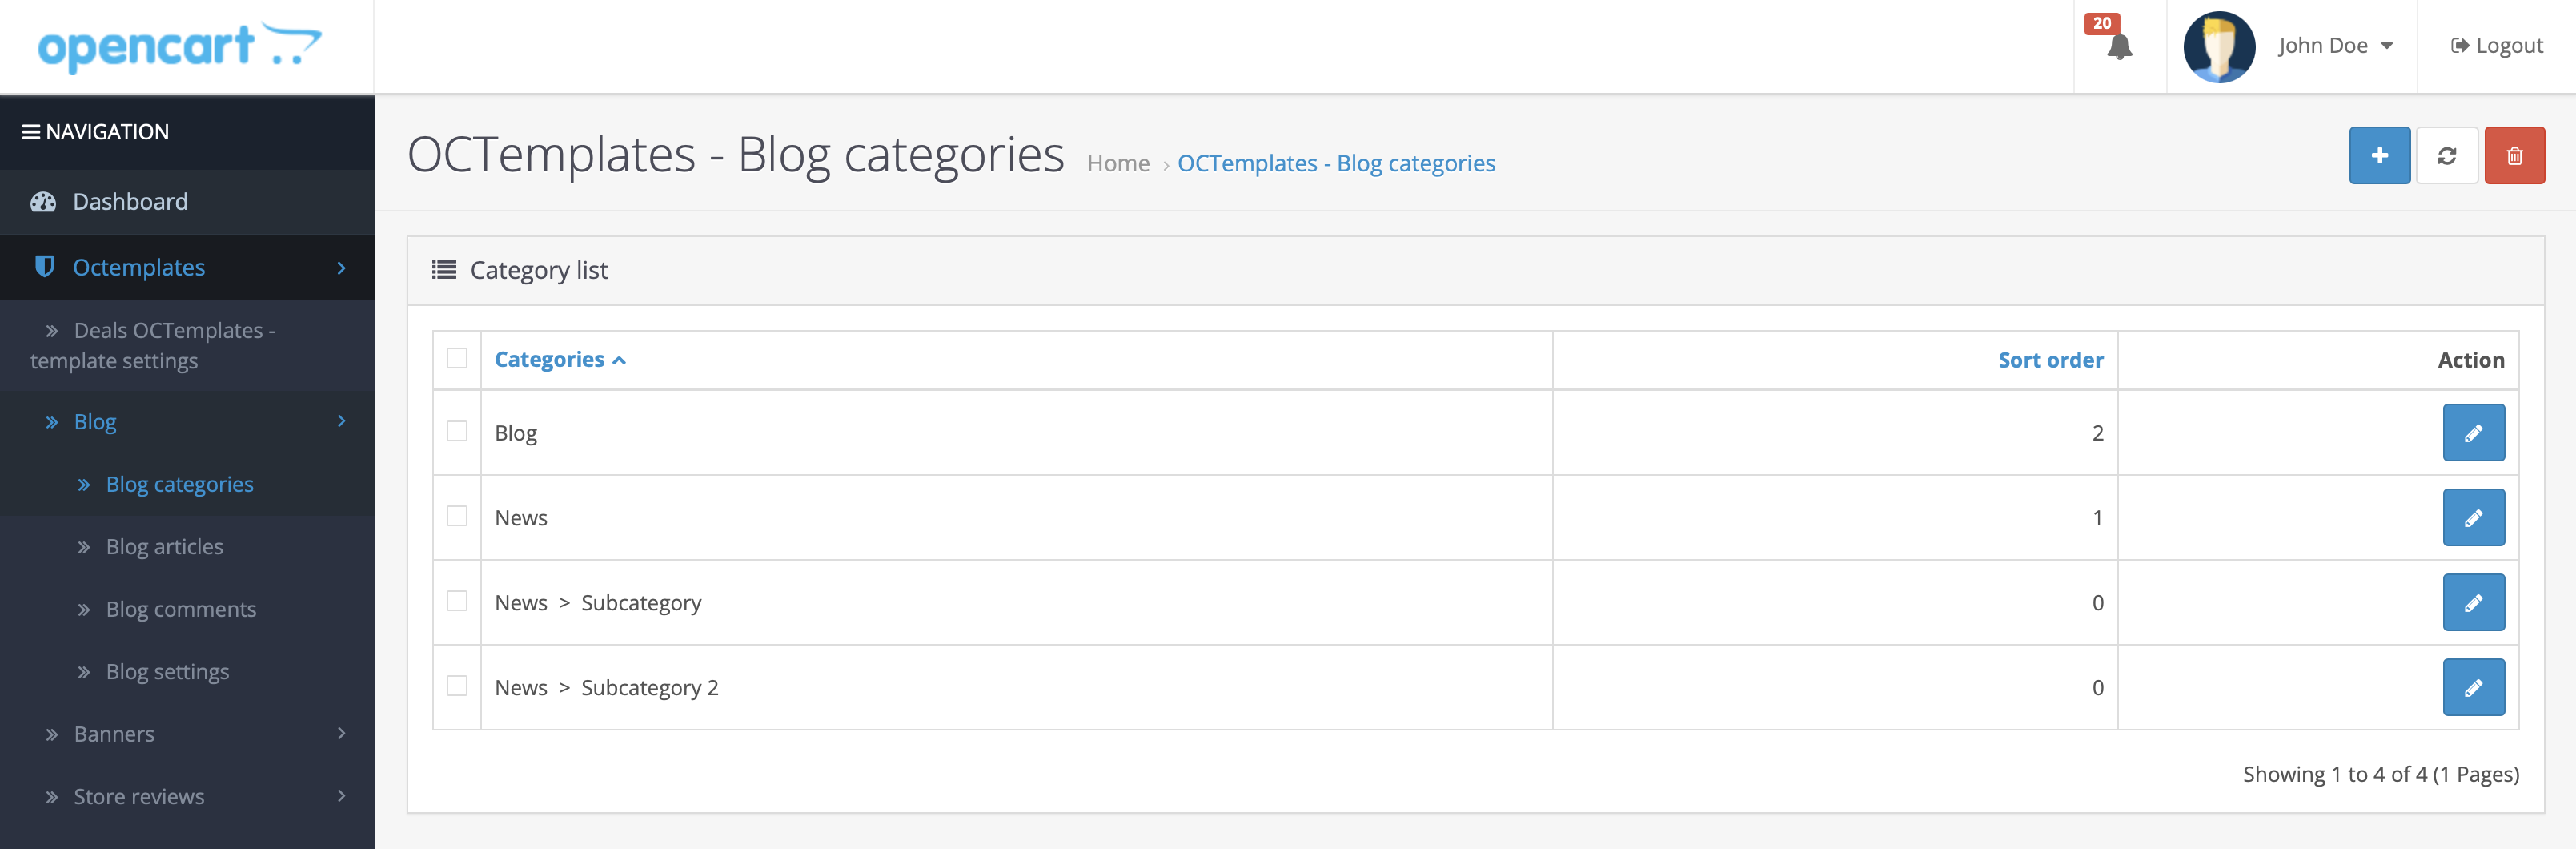
The "Blog" module allows you to display blog posts on the store homepage and create a full-featured blog with articles, categories, comments, and other useful tools.
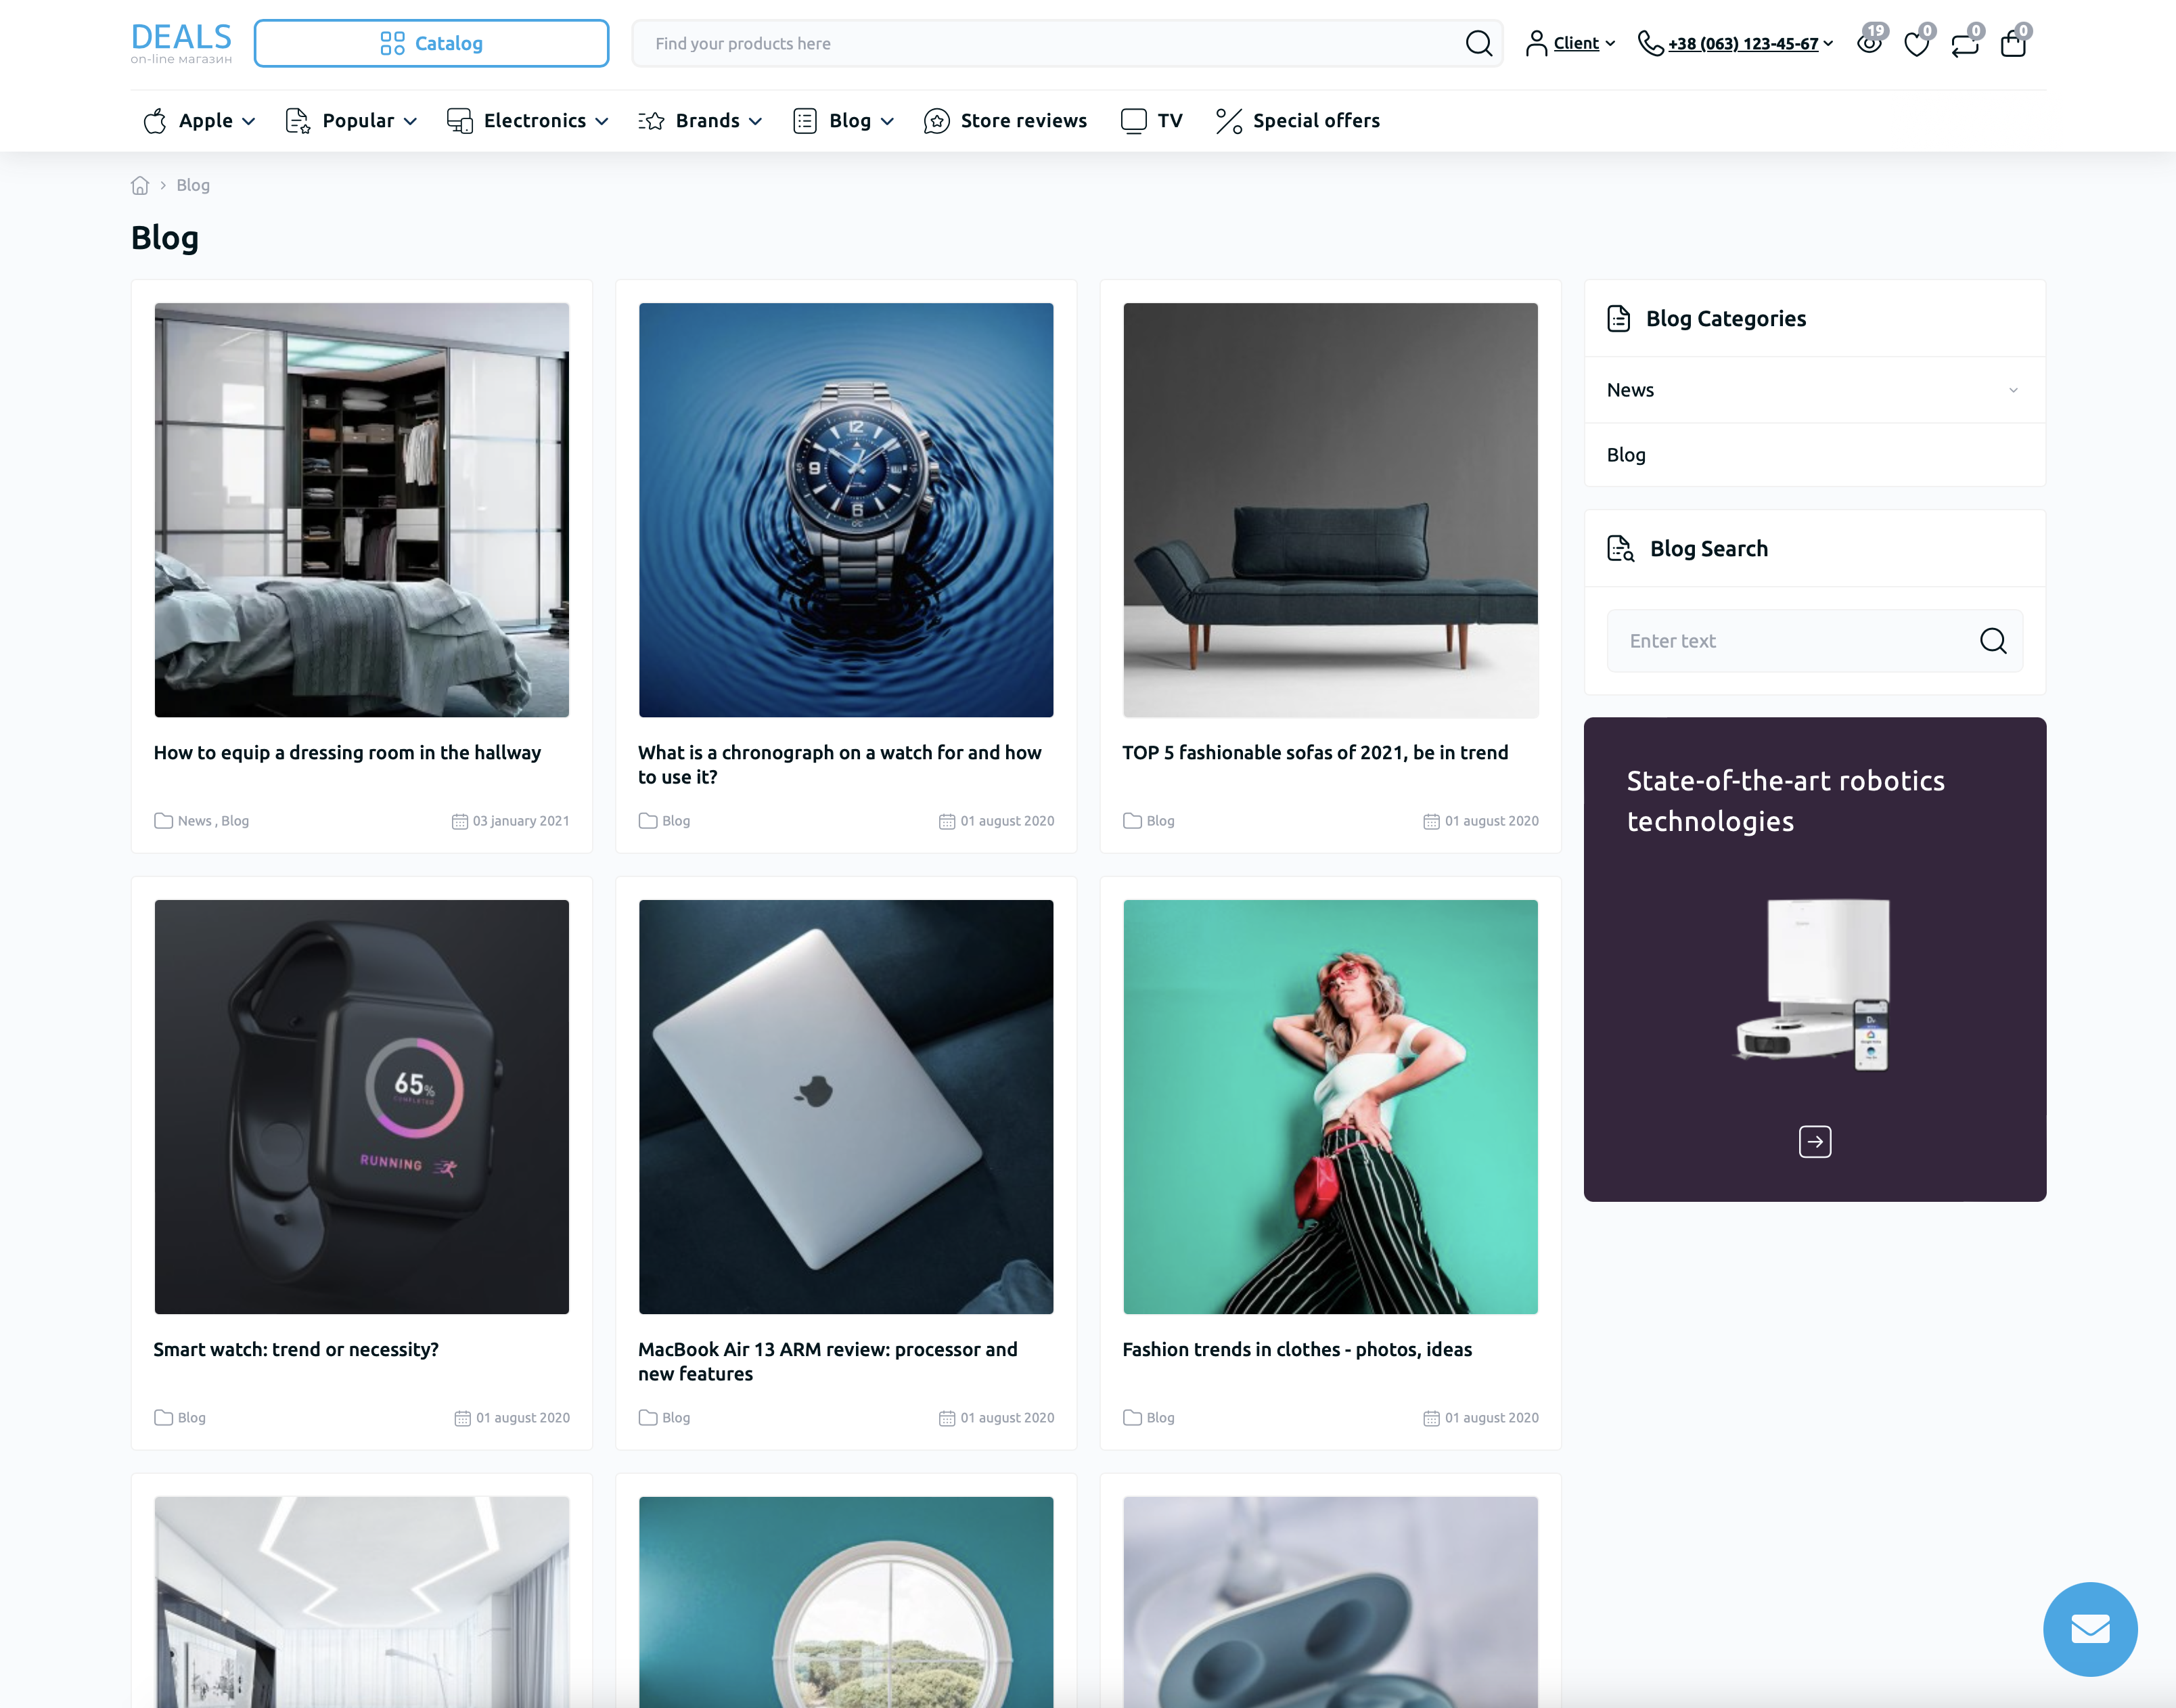
To activate the blog in the admin panel, go to "Blog" -> "Blog Settings".
After that, save the blog settings, and additional sections will appear in the left panel: "Blog Categories", "Blog Articles", and "Blog Comments".
Create the required categories, after which you can proceed to filling the blog with content.
After filling the blog with articles, create and display the "Latest Articles" module on the required site page, or add a link to the required blog category in the mega menu.
For convenient blog design configuration, layouts are created when the blog is activated.
"Blog Article" — blog article page.
"Blog Category" — blog category page.
"Blog Search" — blog search page.
Blog settings
On the "Blog Settings" page, two tabs with different settings will be available.
The "Settings" tab contains the following settings:
- "Status" — allows you to enable or disable the module;
- "Comments" — allows you to enable or disable the ability for users to comment on blog posts;
- "Edit comments" — allows you to enable or disable comment moderation before publication;
- "Article counter in the blog categories module" — allows you to enable or disable the display of the number of posts in the blog categories module «In the left or right column»;
- "Blog search" — allows you to enable or disable blog search display in the blog categories module «In the left or right column».
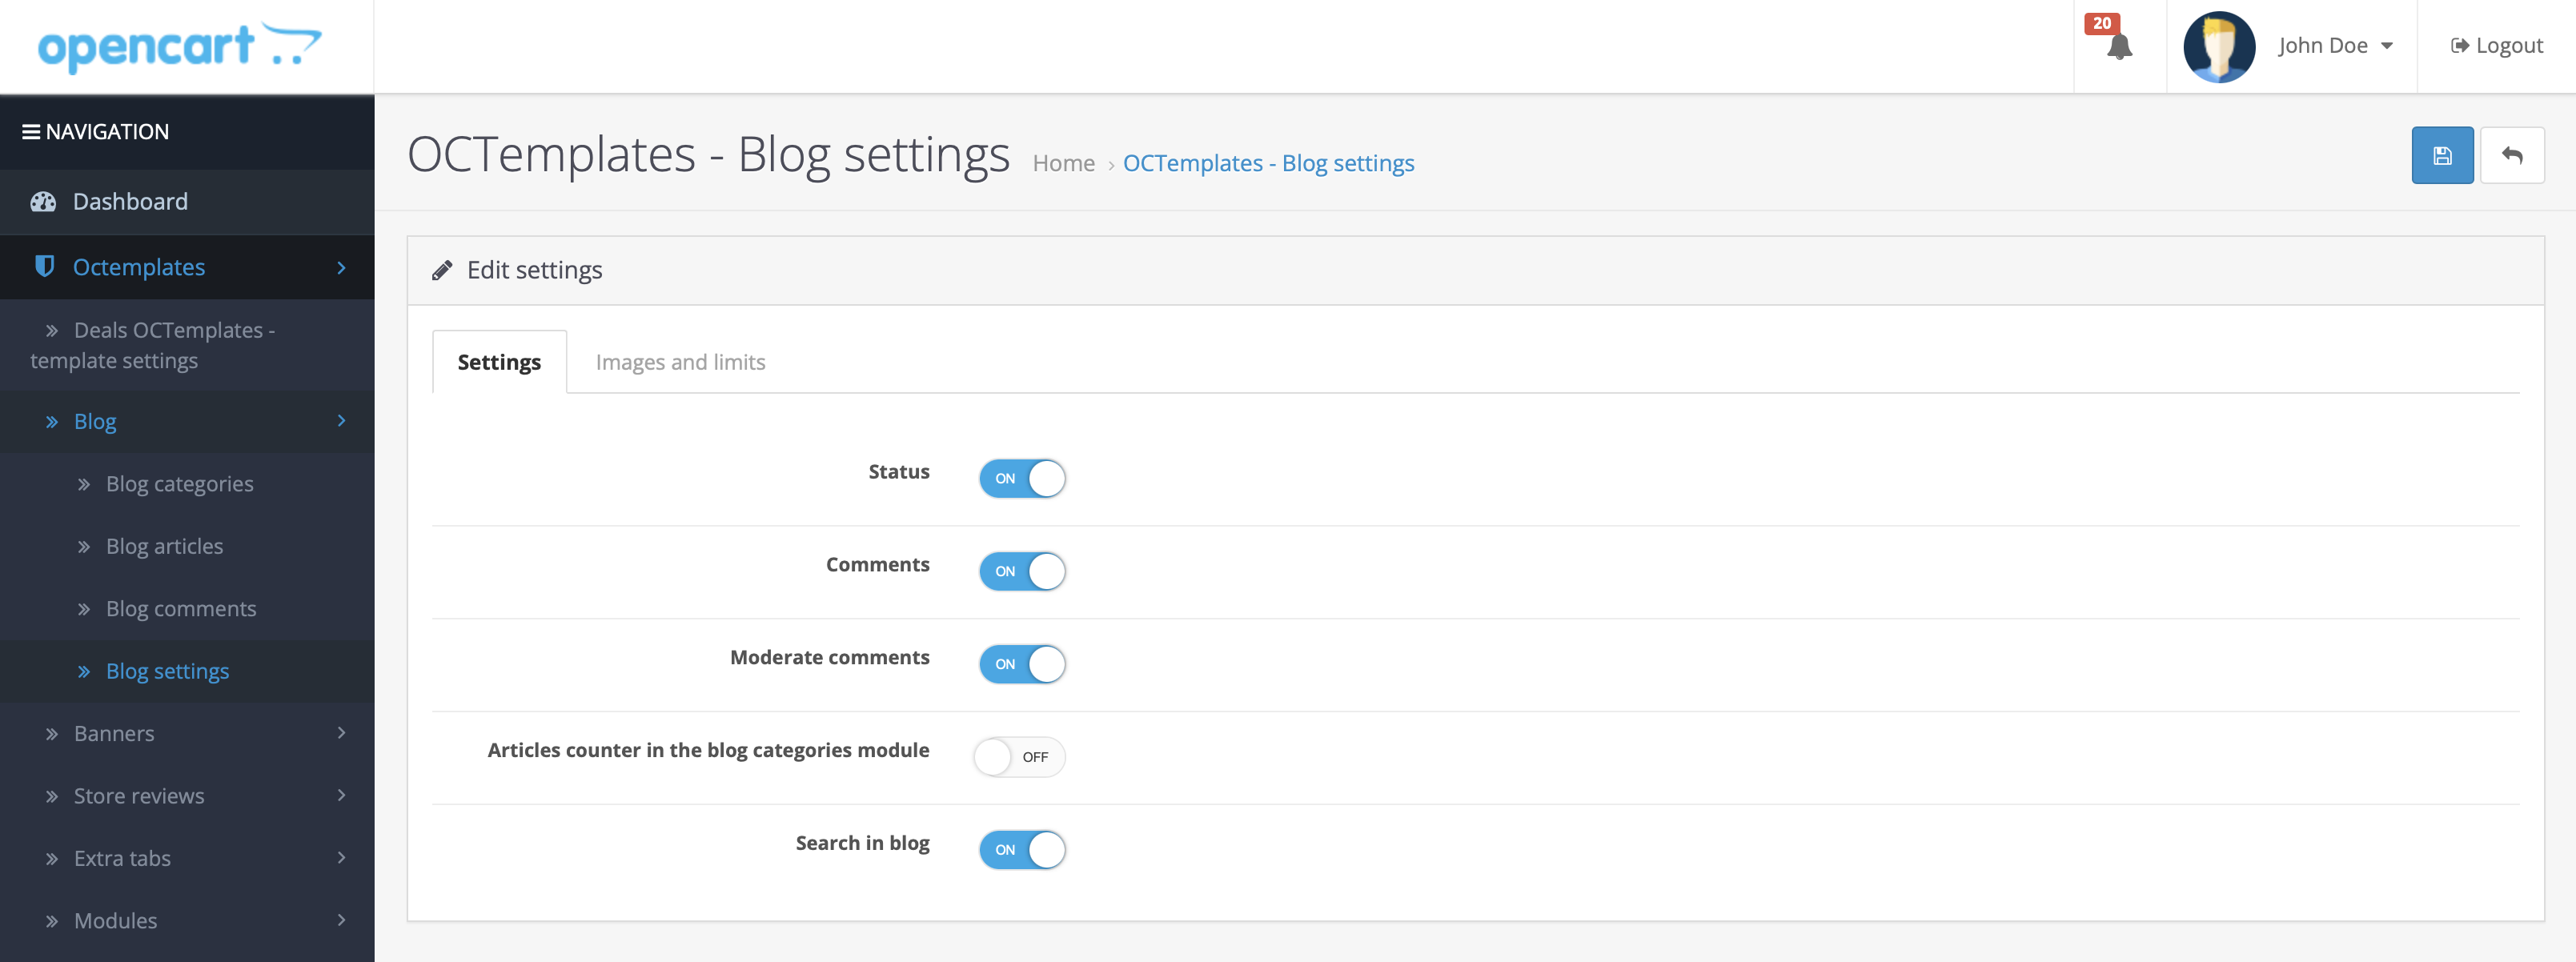
The "Images and Limits" tab contains the following settings:
- "Number of articles" — allows you to set the number of articles displayed on blog category pages. It is recommended to enter an even value;
- "Number of characters" — allows you to set the number of characters displayed in the short description in article blocks on blog category pages;
- "Display image in article" — allows you to enable or disable the display of the main article image on the blog post page;
- "Size in article blocks on category pages" — allows you to set the width and height in pixels of the article image in blocks on blog category pages;
- "Size on article page" — allows you to set the width and height in pixels of the main article image on the blog article page;
- "Size of additional article images" — allows you to set the width and height in pixels of additional images on the blog article page;
- "Size in recommended articles" — allows you to set the width and height in pixels of additional images in recommended articles on the blog article page;
- "Size in recommended products" — allows you to set the width and height in pixels of additional images in recommended products on the blog article page.
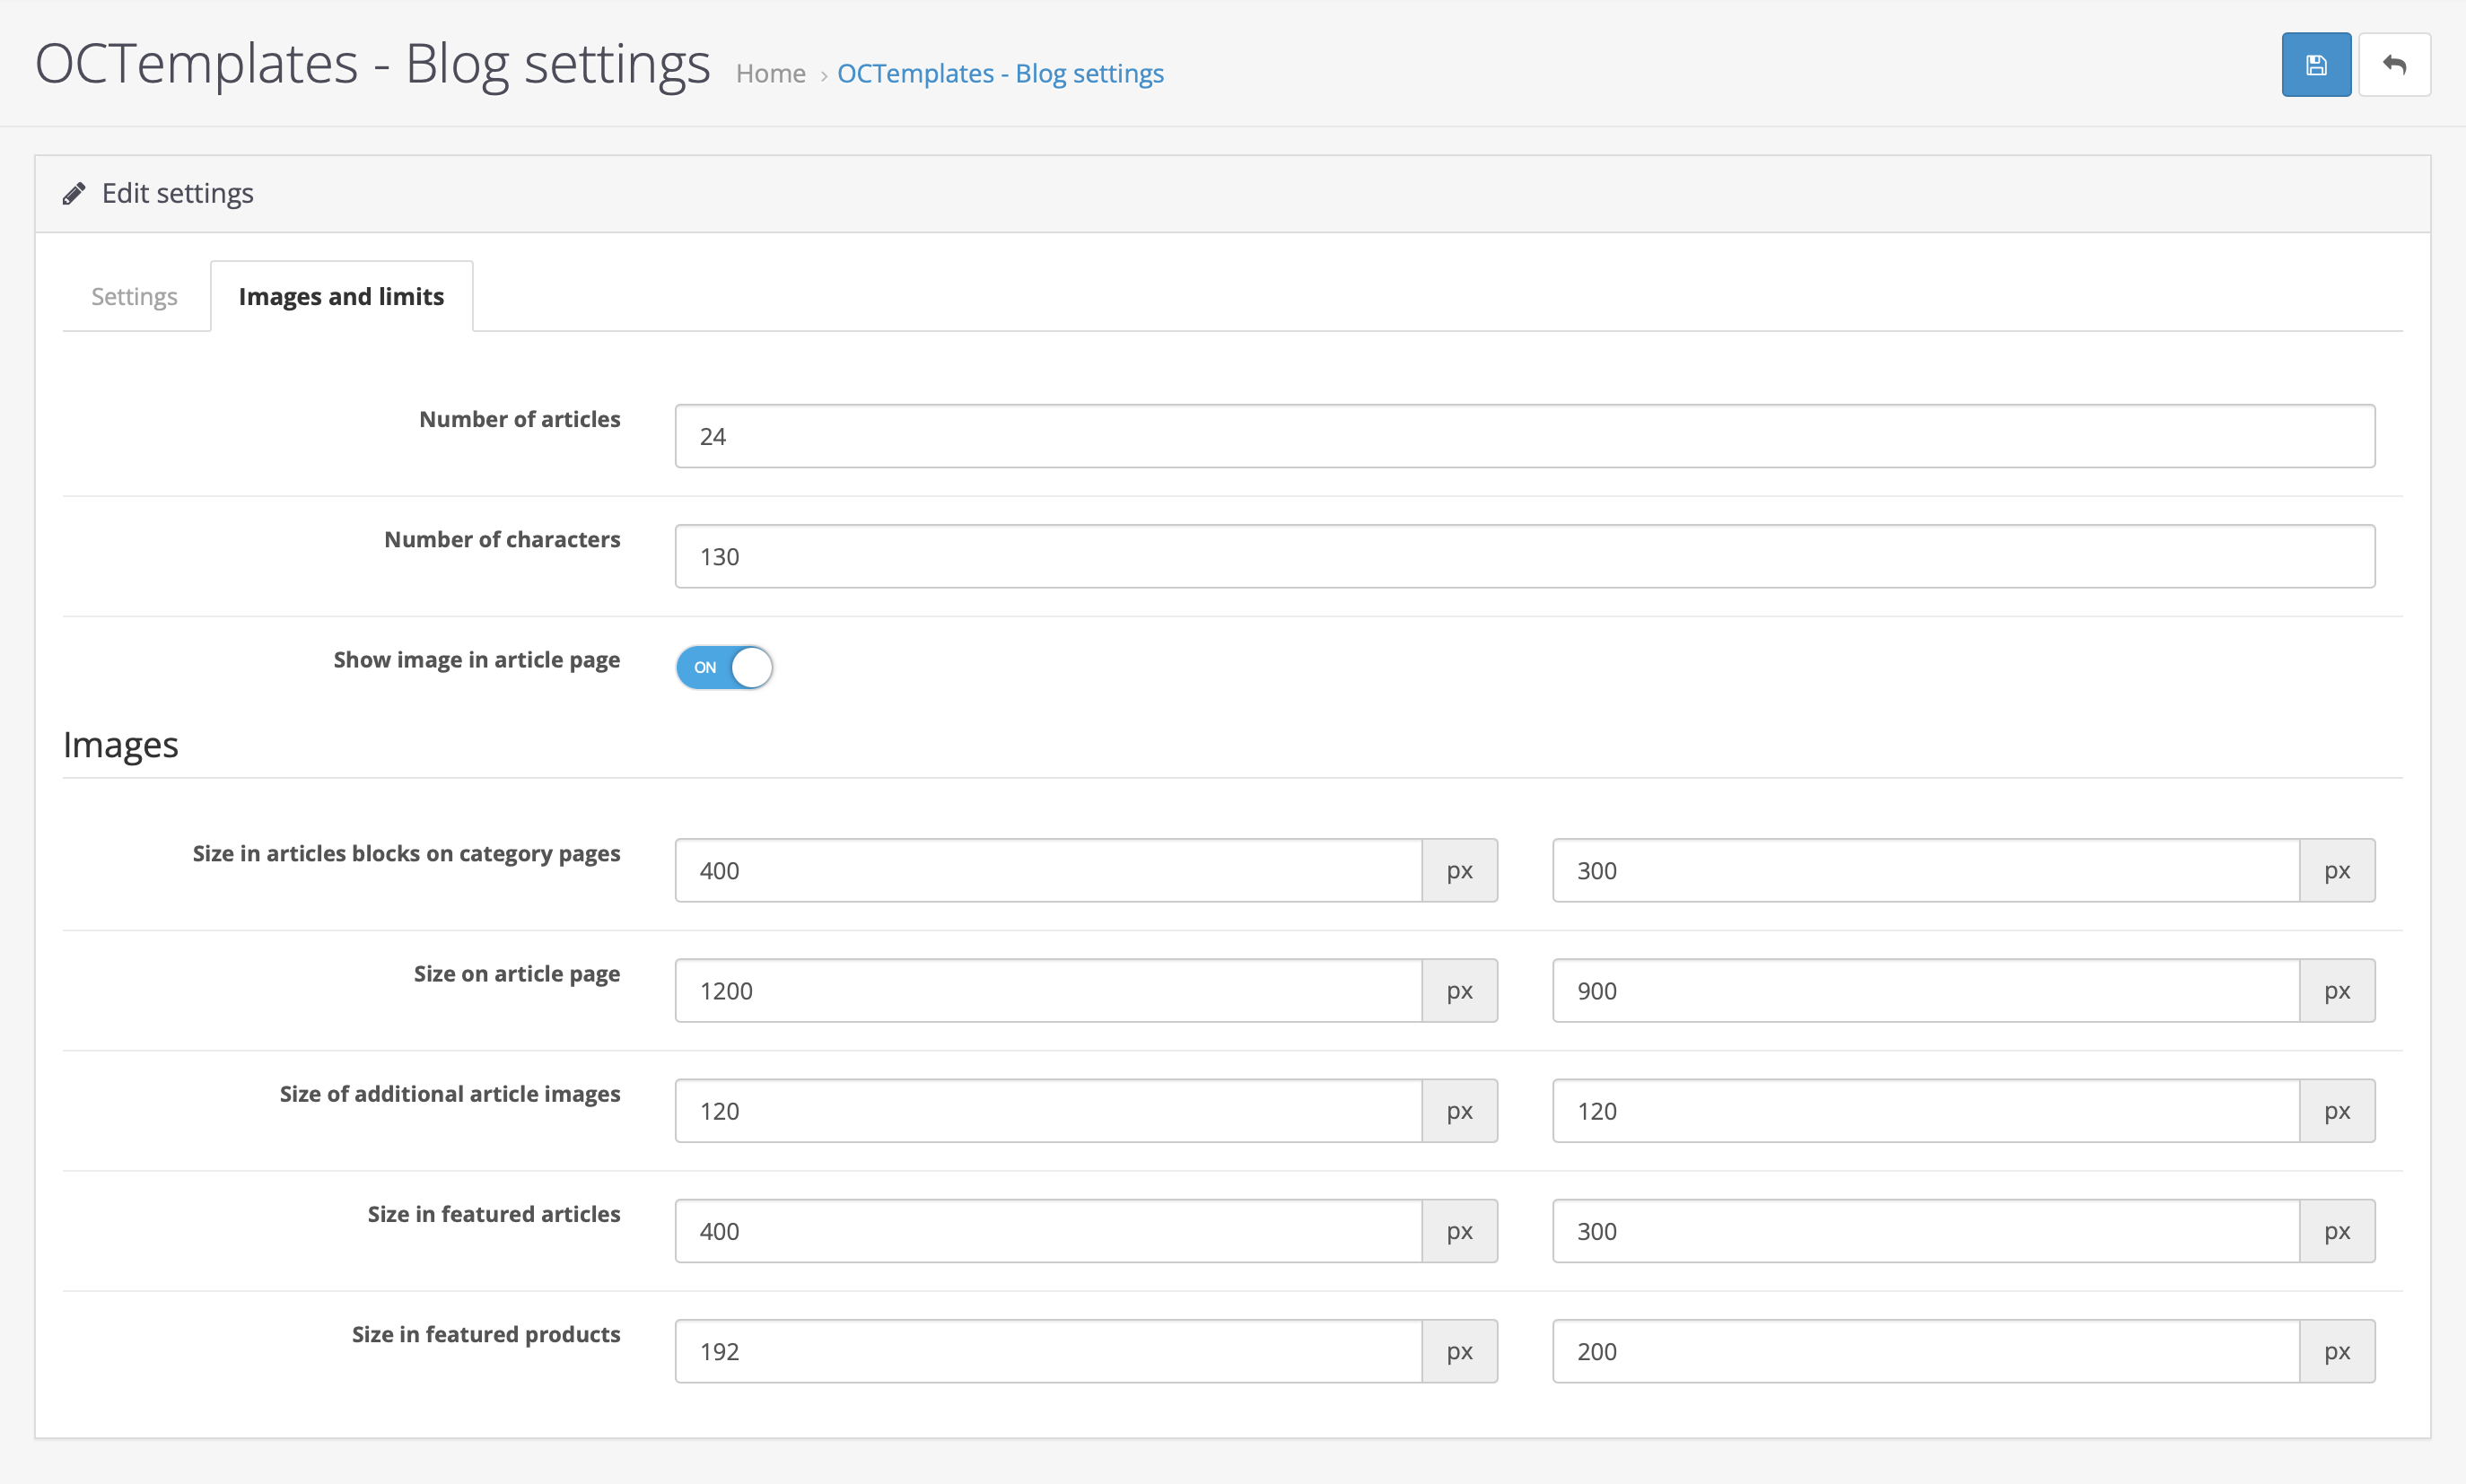
Blog categories
On the "Blog Categories" page, you can add new and edit existing blog categories. To add a new category, click the "Add" button, as shown in the image below. To edit existing categories, click the "Edit" button next to the required category in the list.
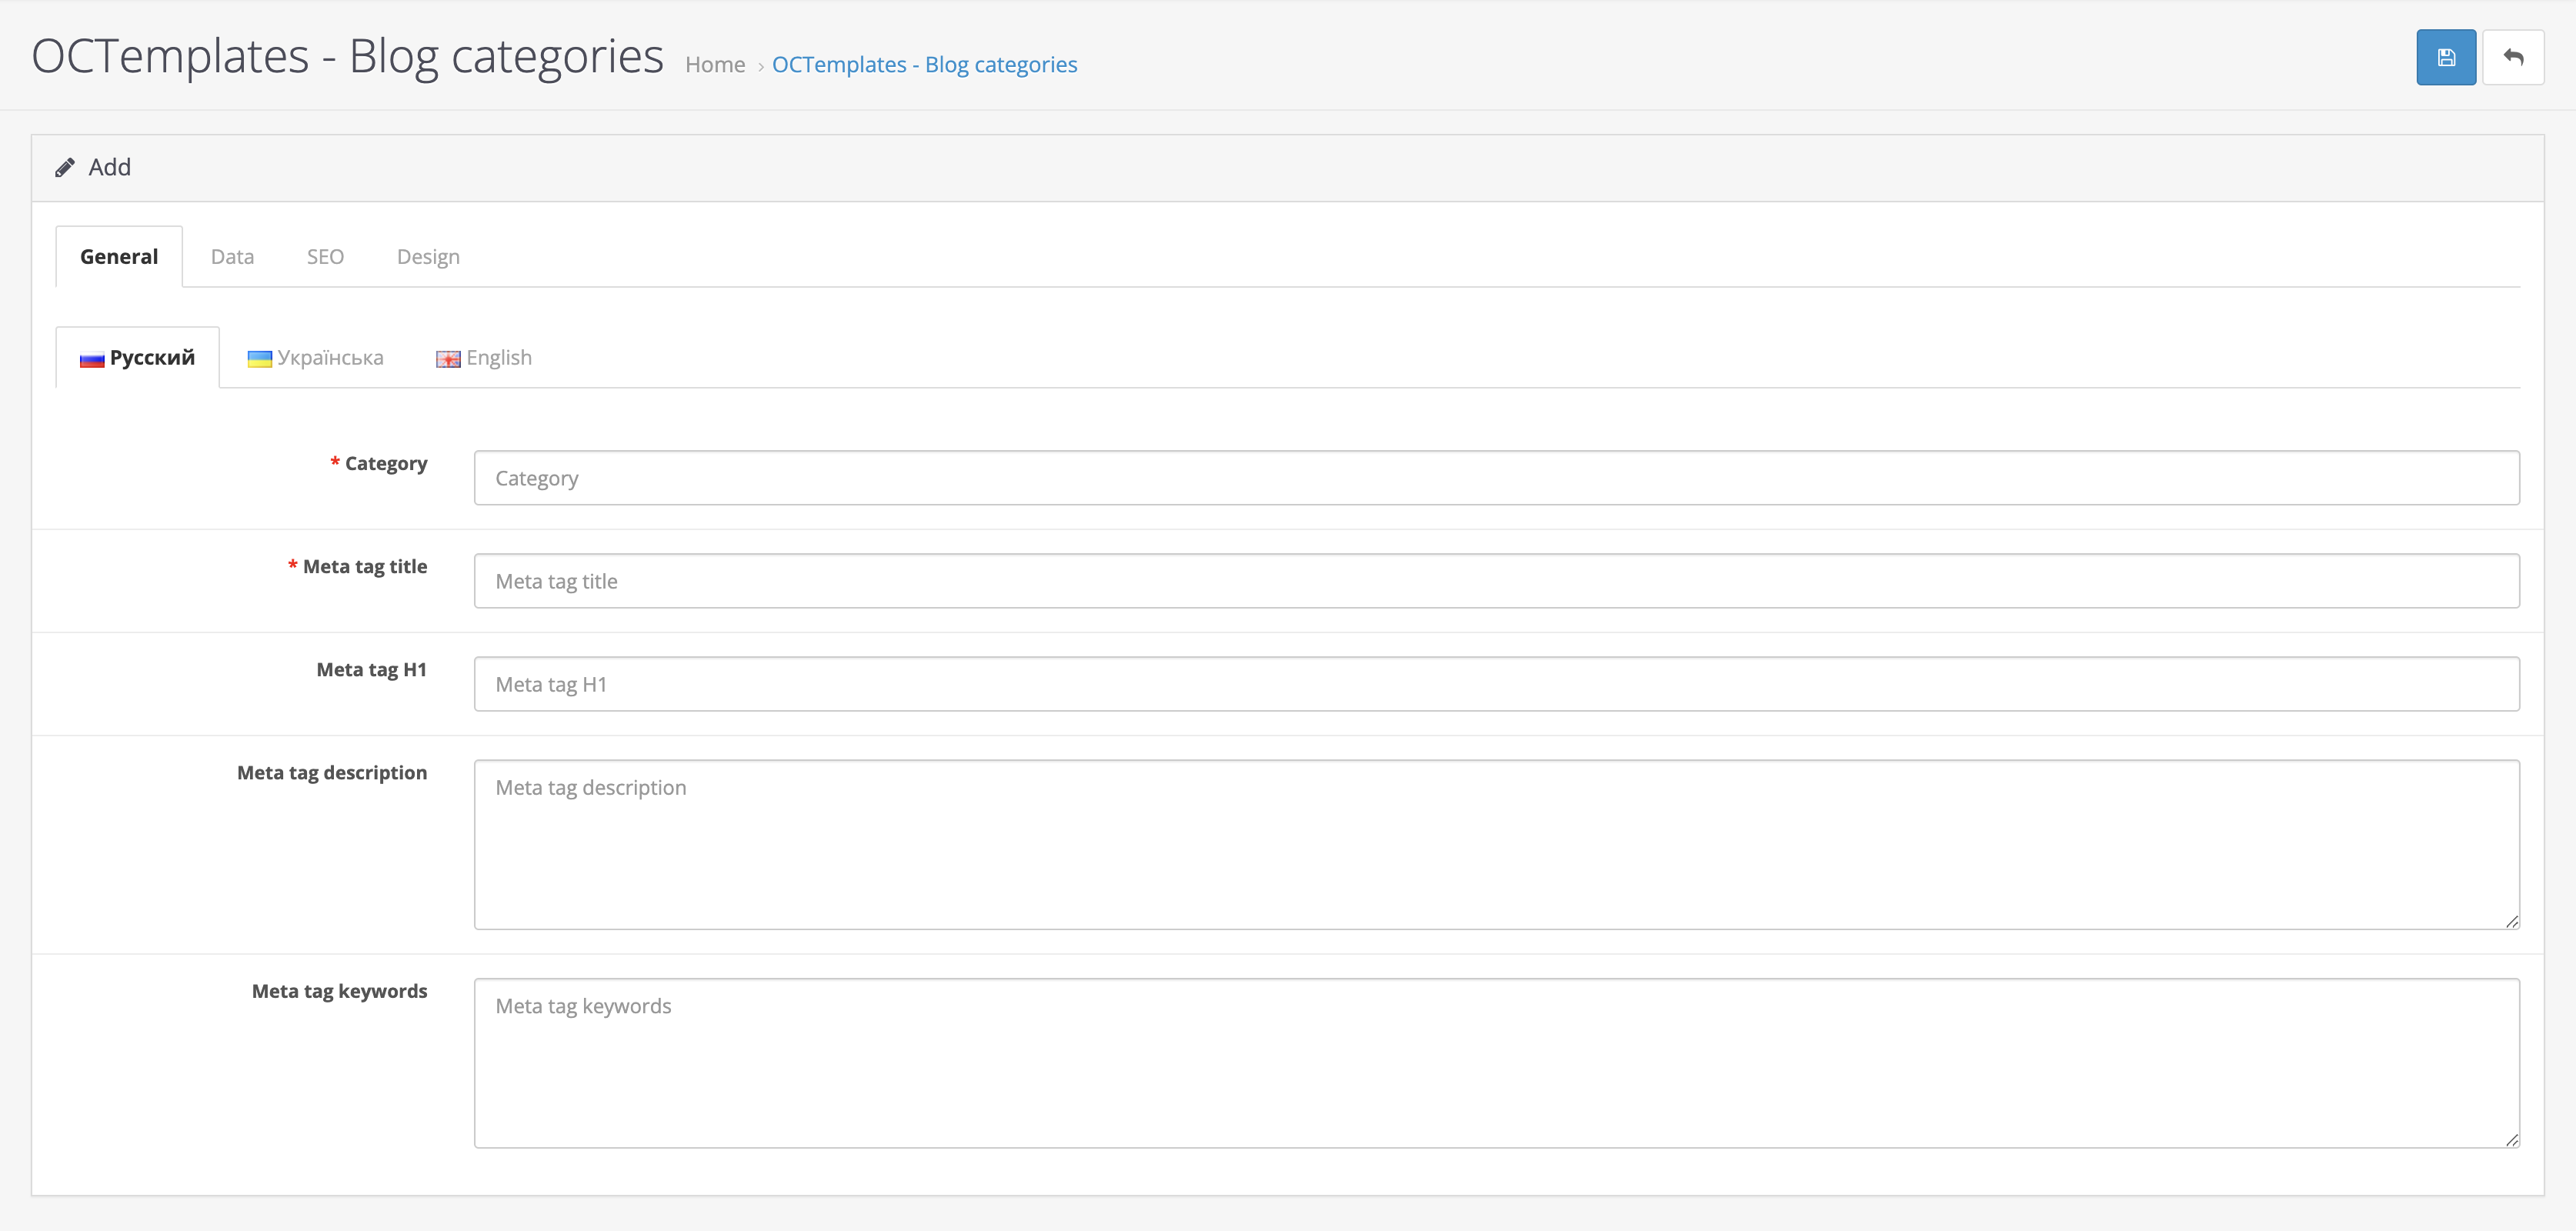
After you click "Add" or "Edit", you will be taken to the category settings page. Here, 4 tabs will be available.
The "General" tab contains the following fields:
- "Category" — allows you to enter the blog category name;
- "Meta Tag Title" — intended for displaying the Title meta tag for the category;
- "Meta Tag H1" — intended for displaying the H1 meta tag for the category;
- "Meta Tag Description" — intended for displaying the Description meta tag for the category;
- "Meta Tag Keywords" — intended for entering category keywords.
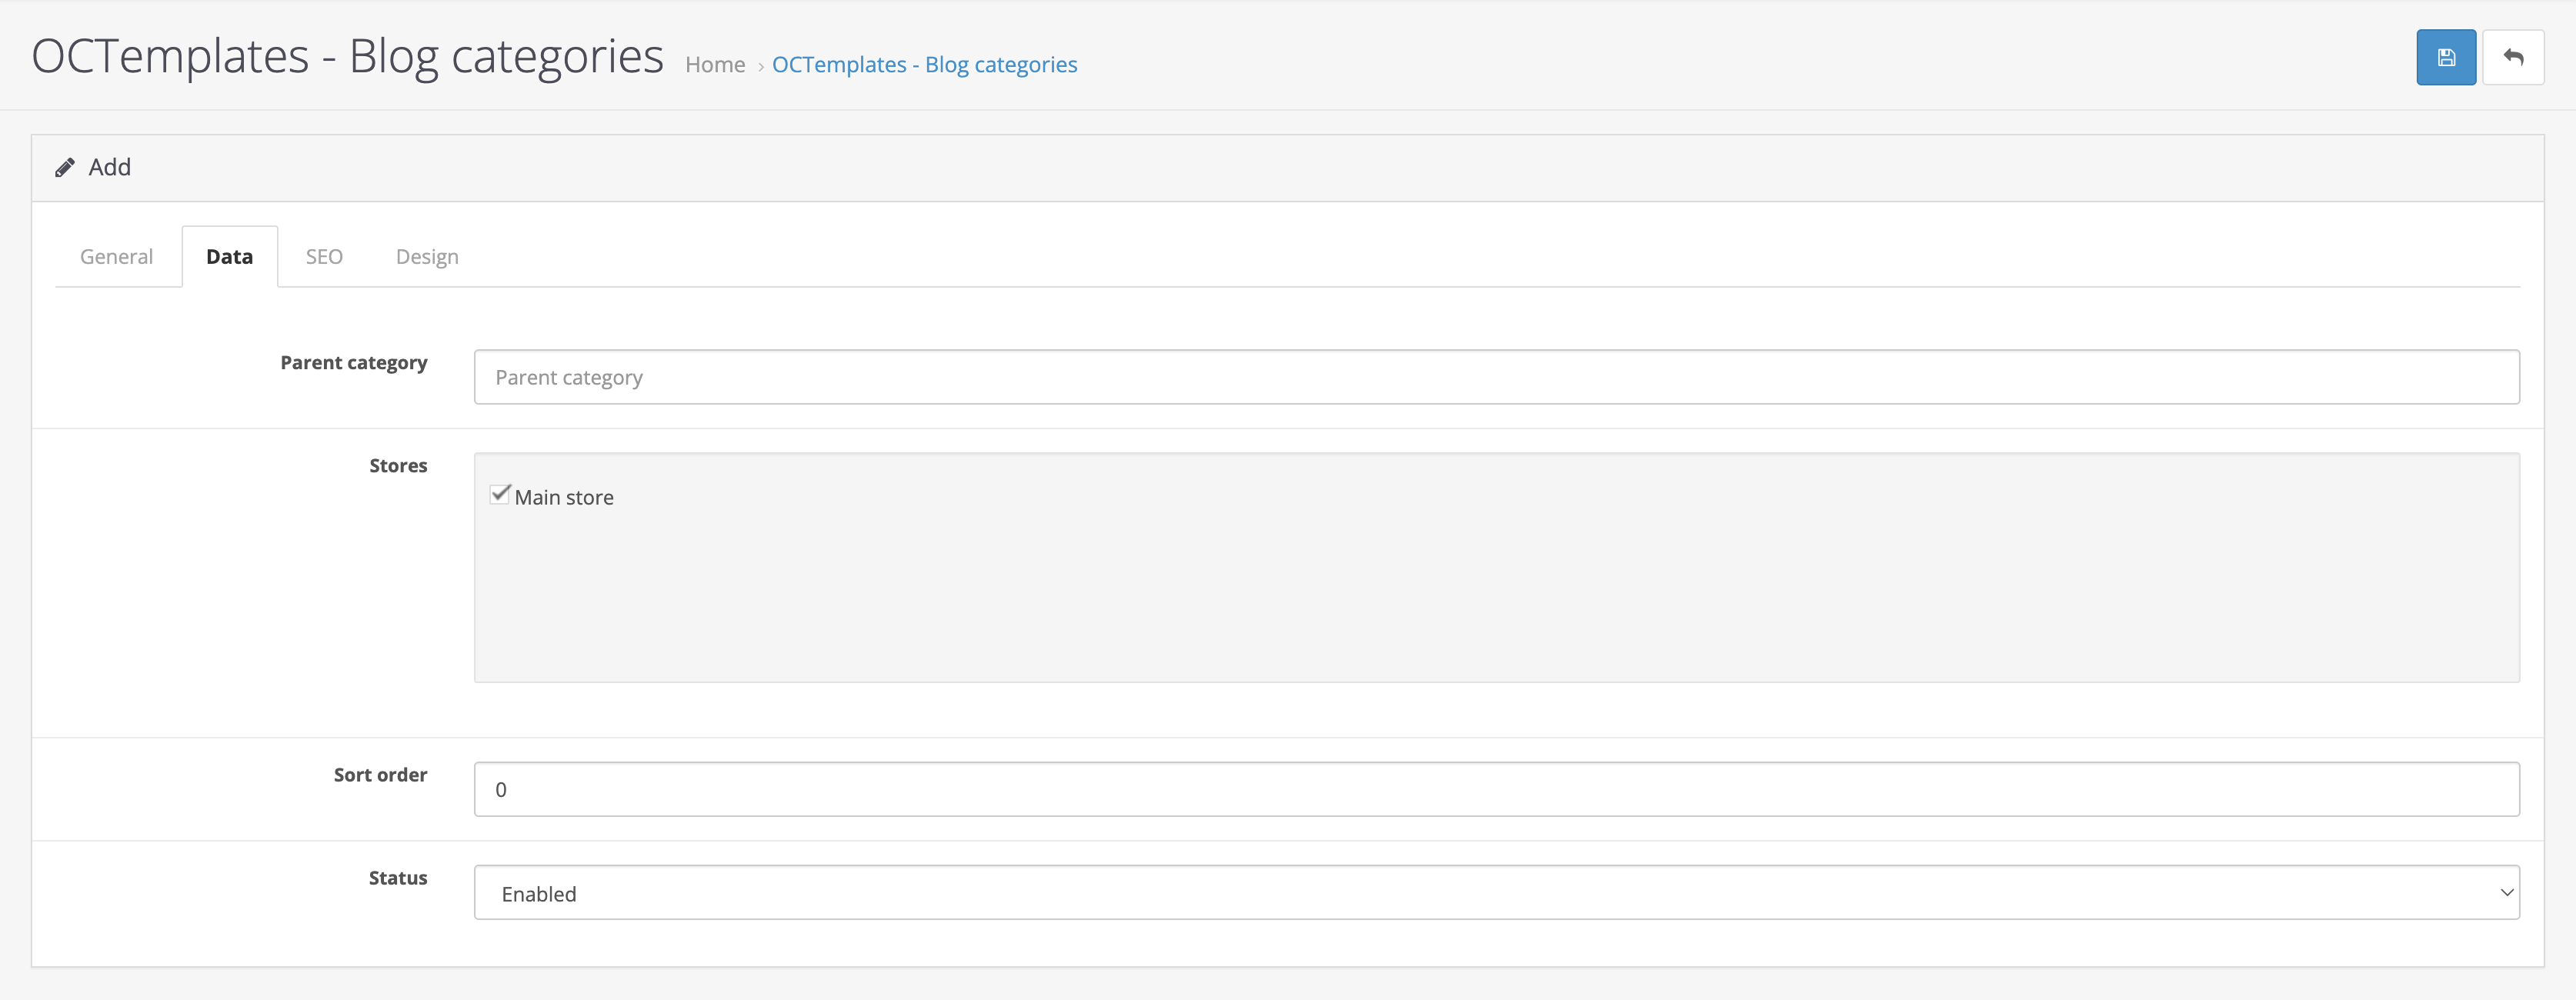
The "Data" tab contains the following settings:
- "Parent category" — allows you to select a parent category if the category being created or edited is a blog subcategory;
- "Stores" — allows you to work with categories when using multistore;
- "Sort order" — allows you to sort categories in the required order;
- "Status" — allows you to enable or disable category display on the site.
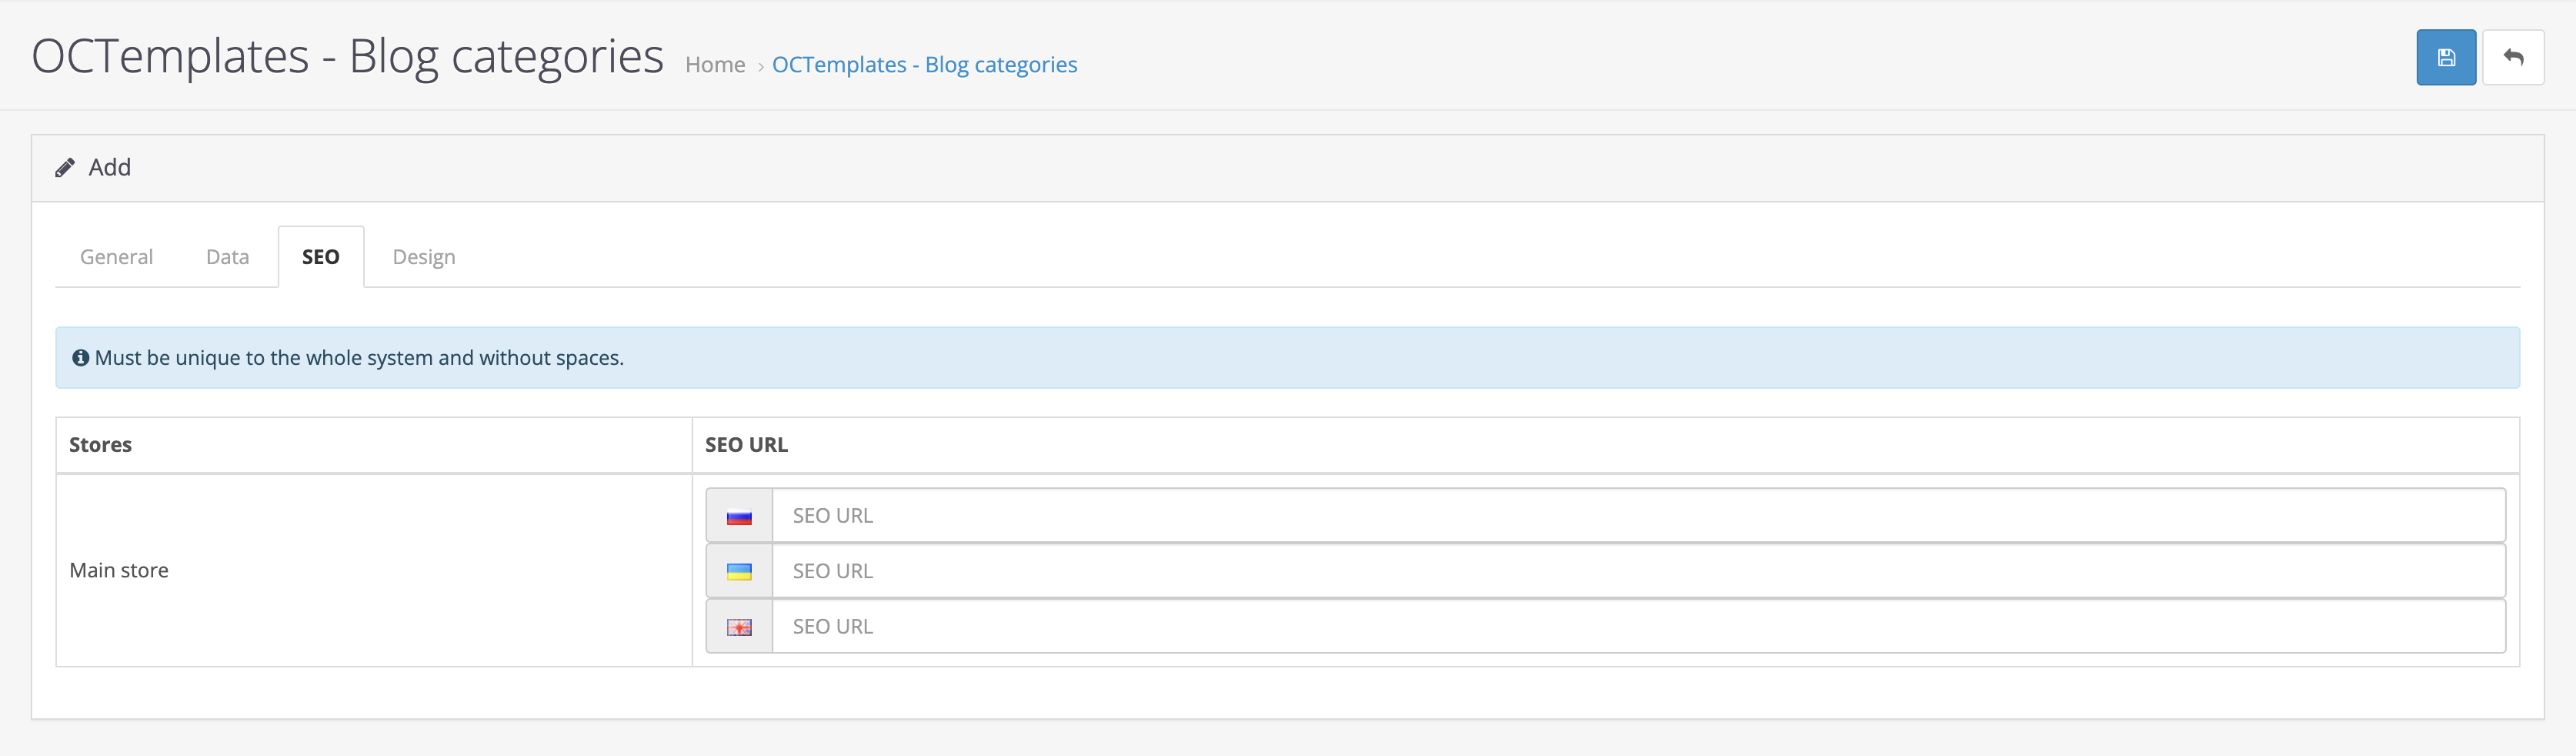
In the "SEO" tab, you can set the SEO URL for the category. SEO URL support for multistore is available. The SEO URL must be unique across the entire system and must not contain spaces.
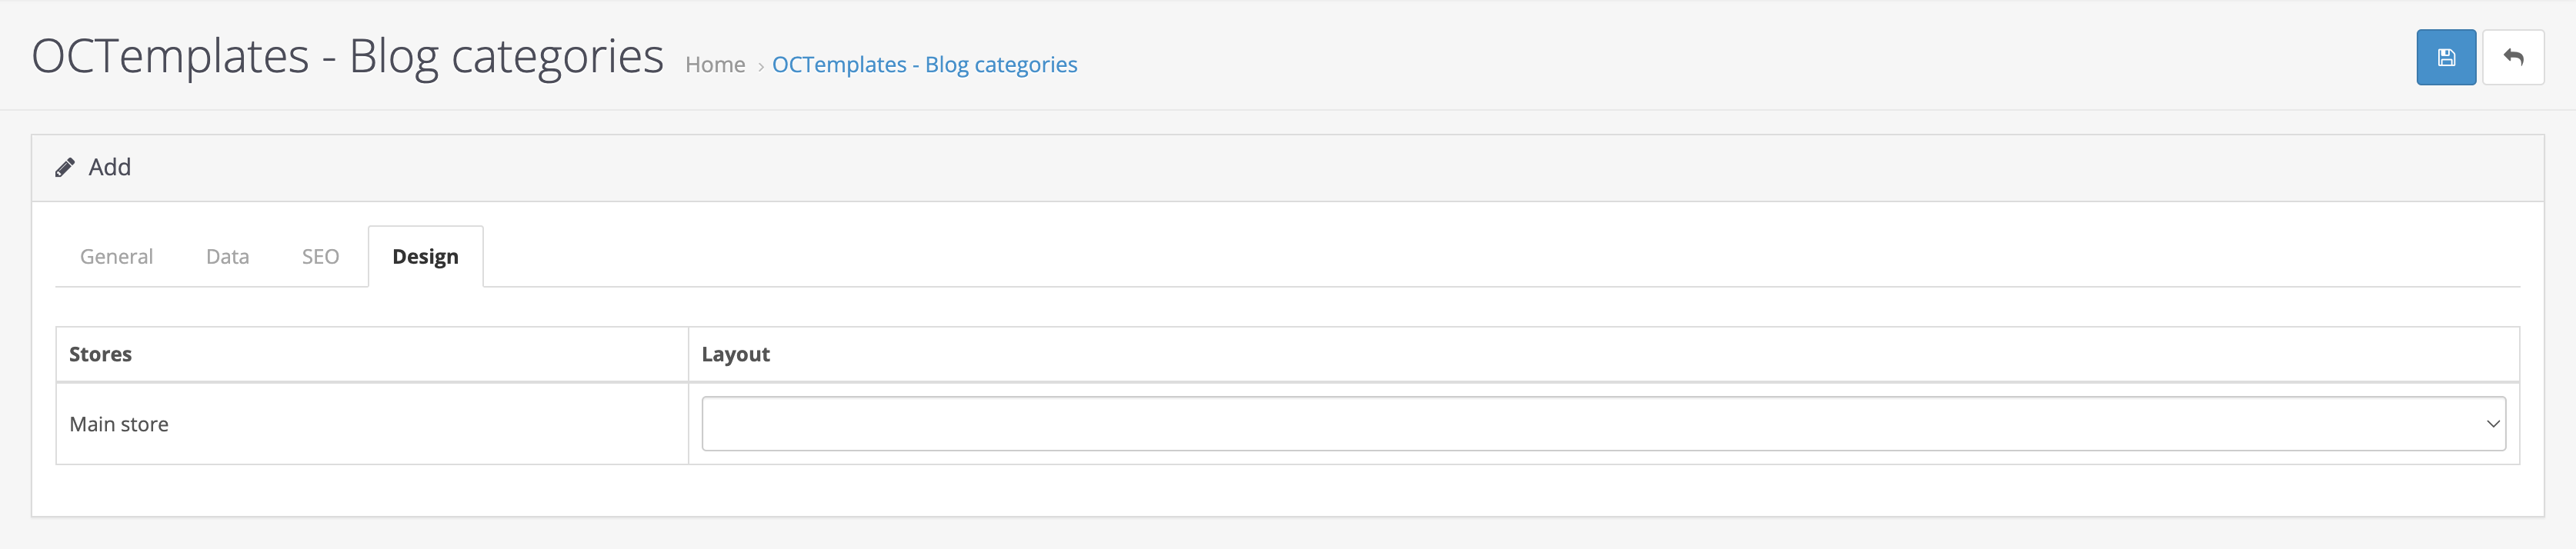
In the "Design" tab, you can select a prepared design layout.
Blog articles
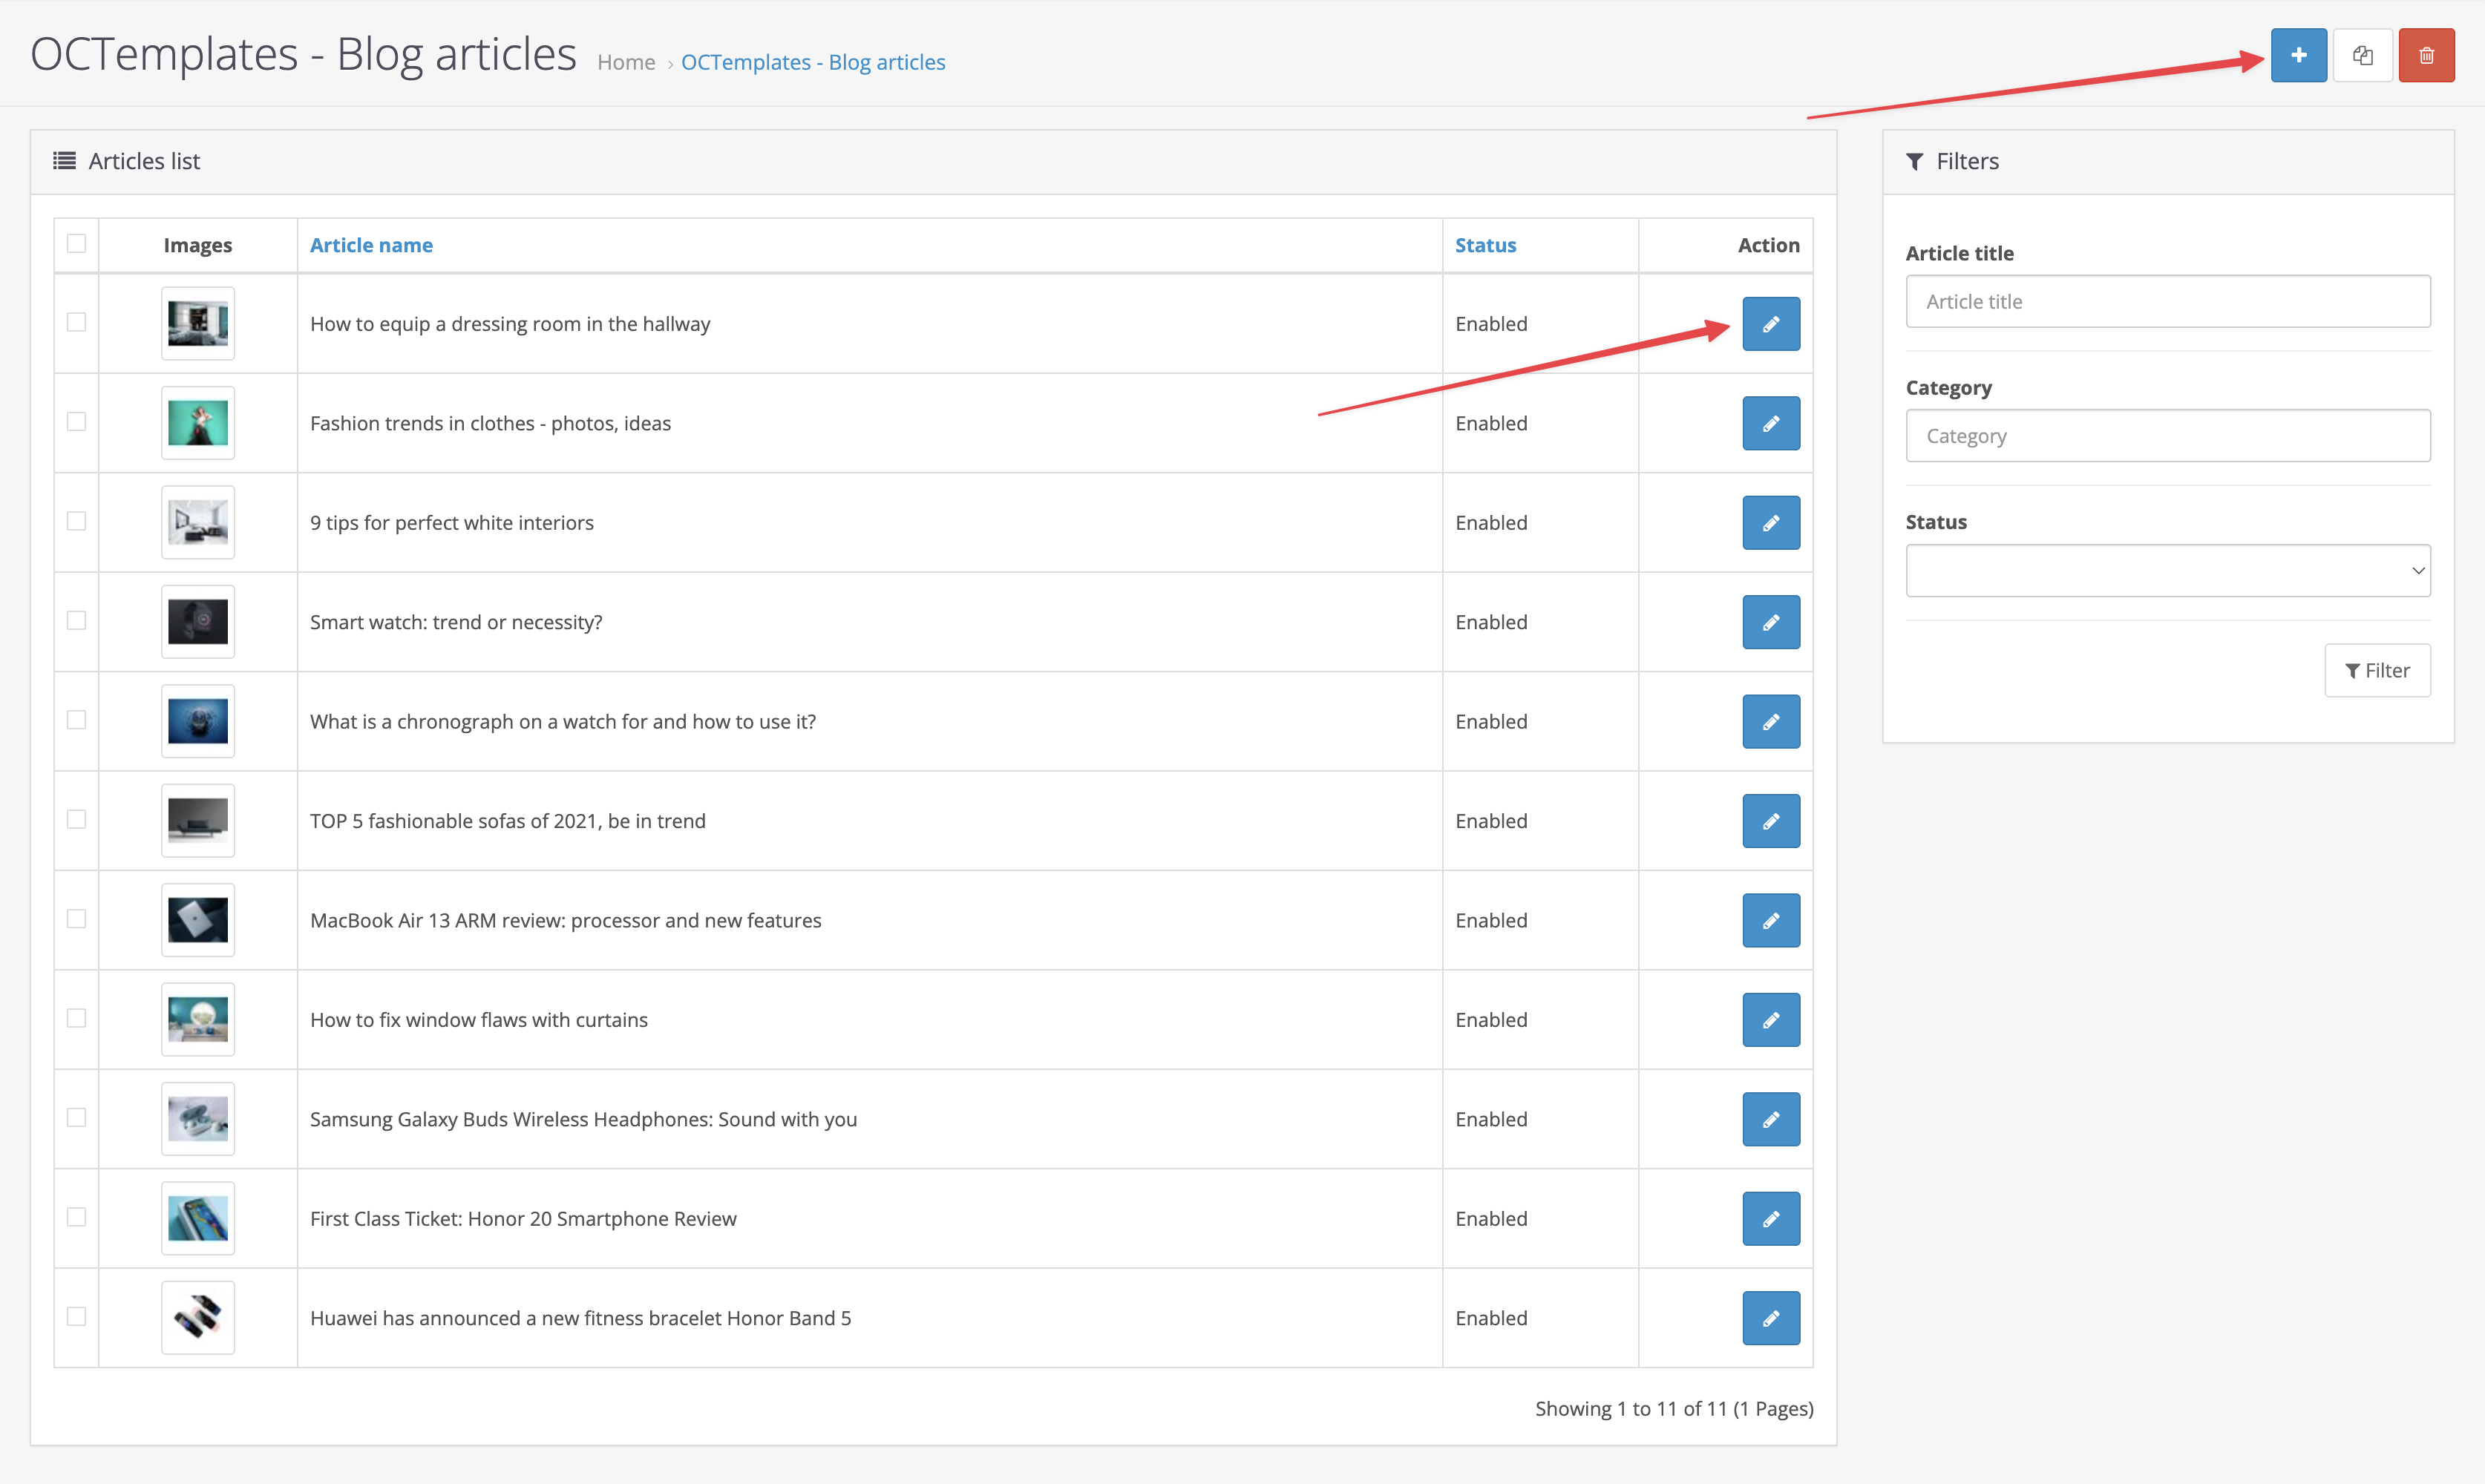
On the "Blog Articles" page, you can add new and edit existing blog posts. To add a new article, click the "Add" button, as shown in the image below. To edit existing articles, click the "Edit" button next to the required post in the article list.
Here you can also search existing articles by title and by the "Enabled" and "Disabled" status.
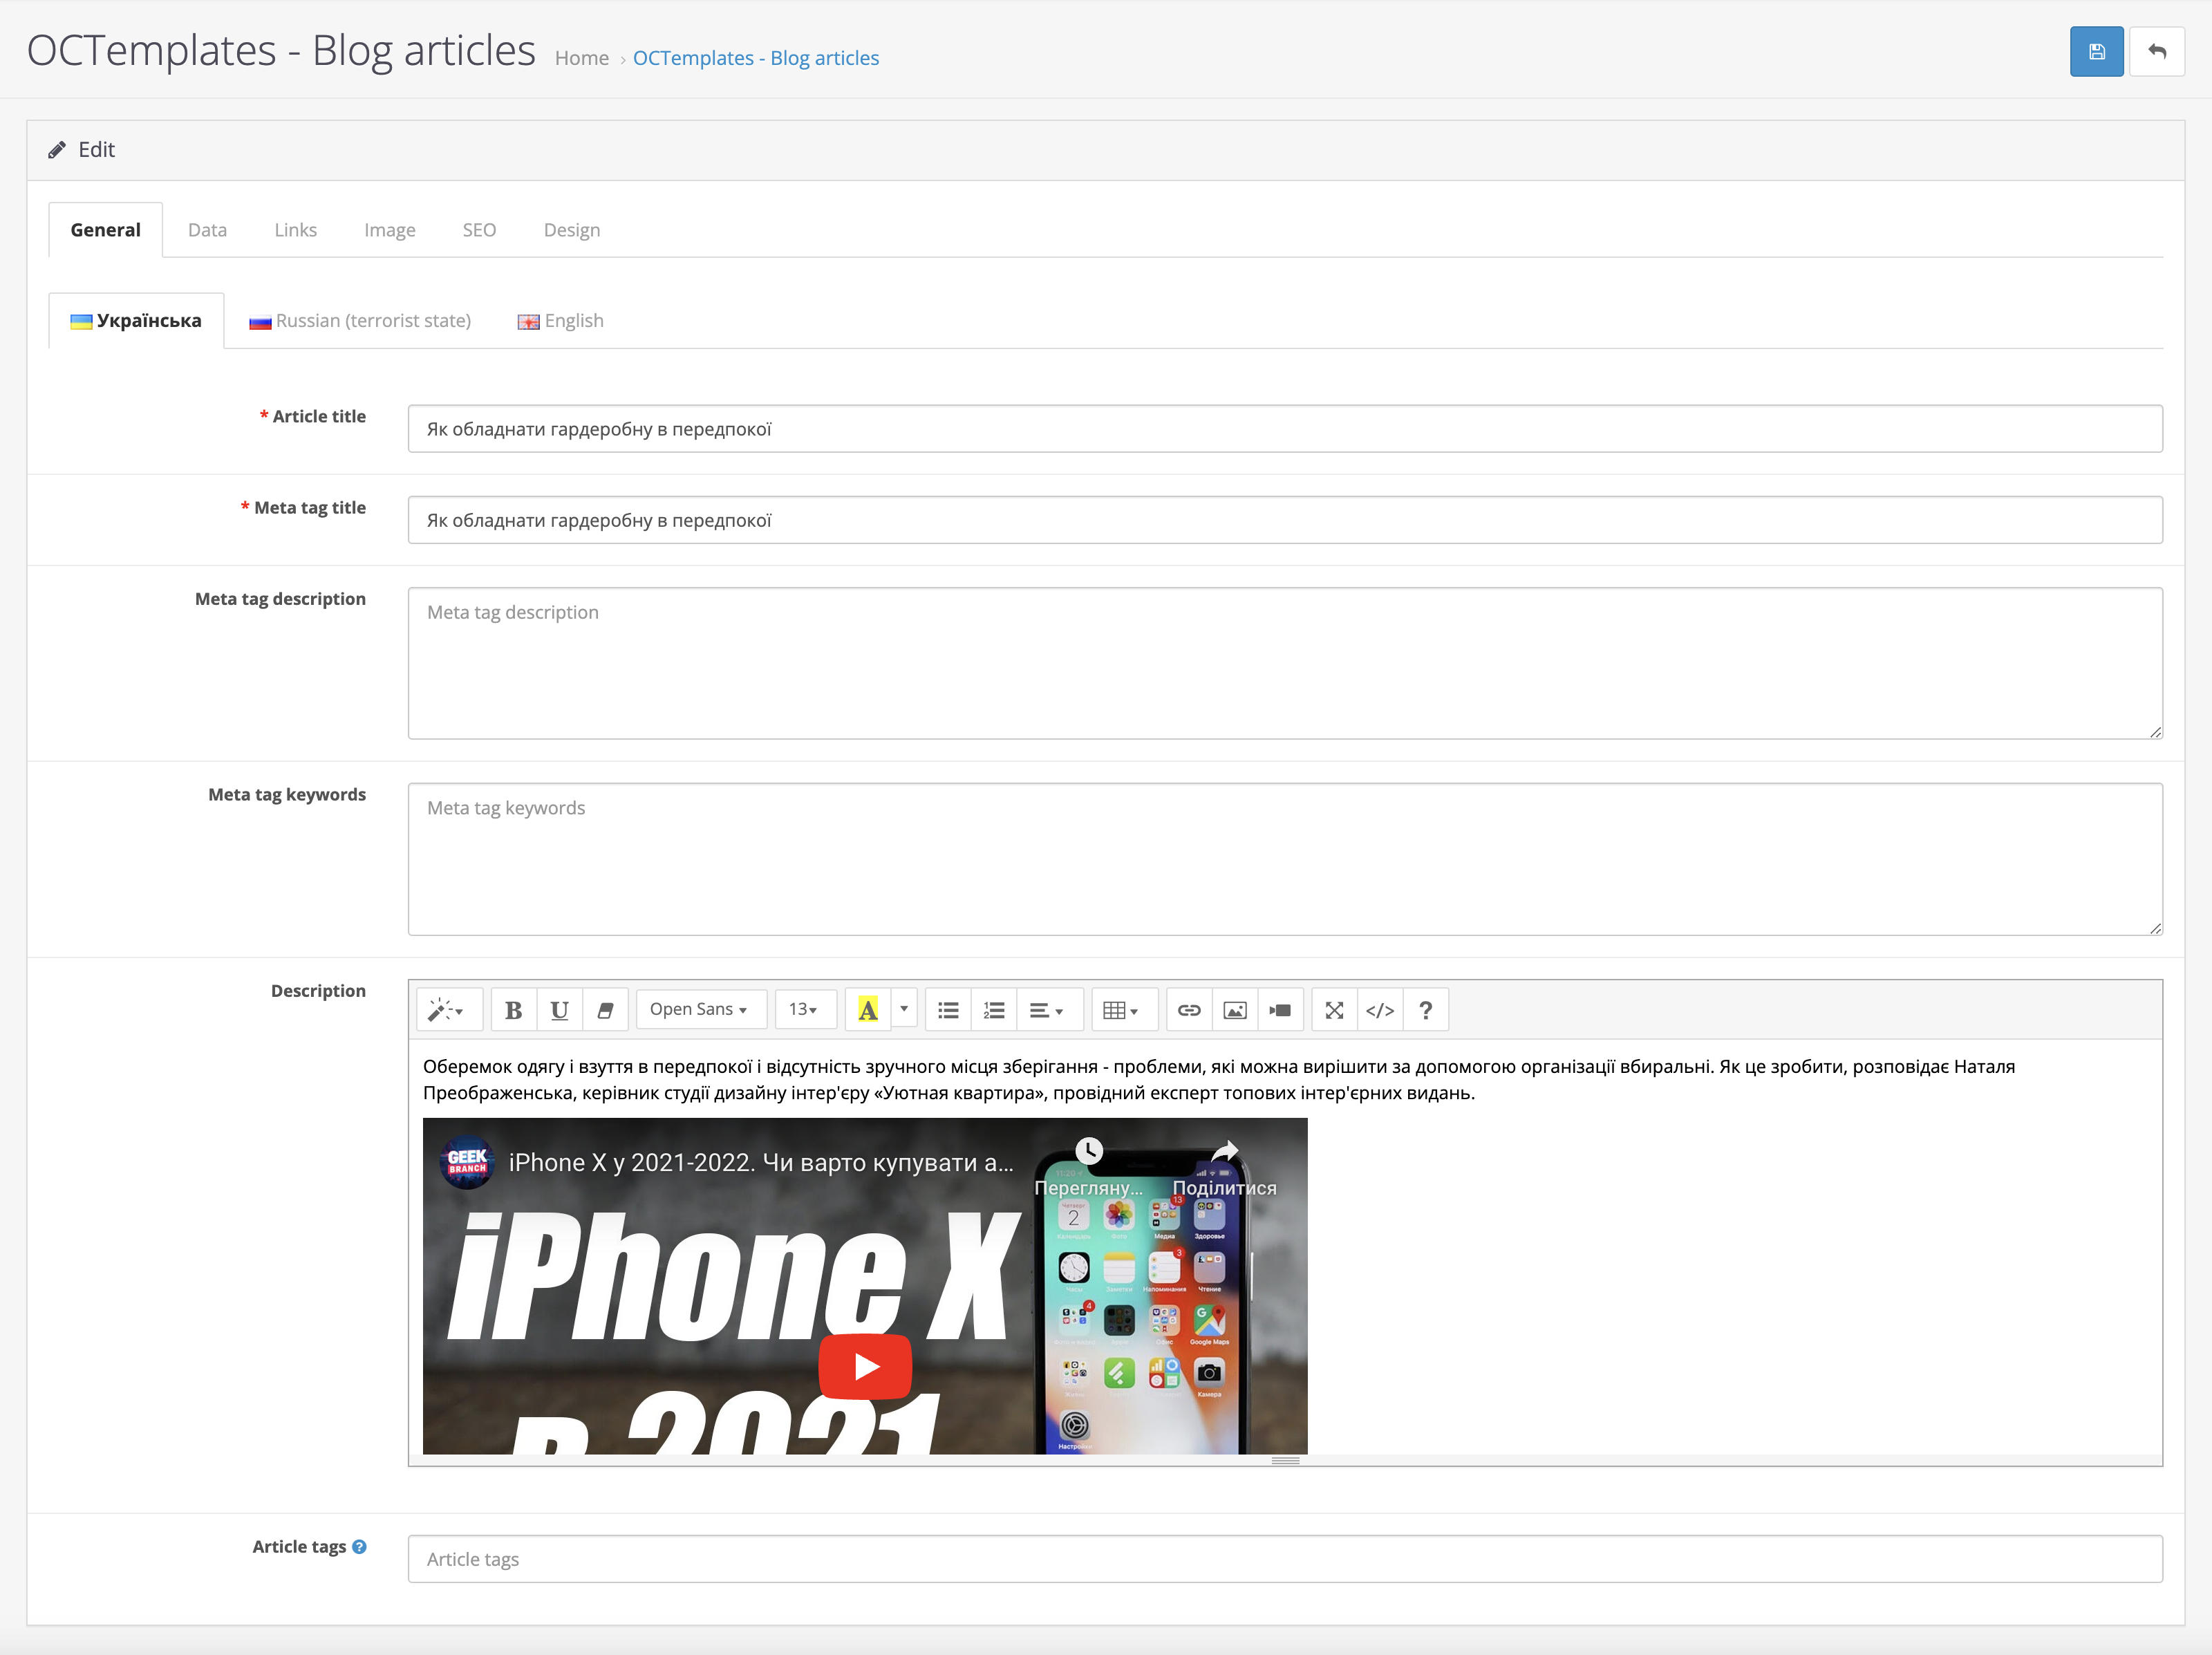
After you click "Add" or "Edit", you will be taken to the article settings page. Here, 6 tabs will be available.
The "General" tab contains the following fields:
- "Article title" — allows you to enter the article title;
- "Meta Tag Title" — intended for displaying the Title meta tag for the article;
- "Meta Tag Description" — intended for displaying the Description meta tag for the article;
- "Meta Tag Keywords" — intended for entering article keywords;
- "Short description" — used to display text in article blocks on blog category pages;
- "Description" — used to display the article text;
- "Tags" — allows you to enter tags for articles. Use a comma as a separator when entering multiple tags.
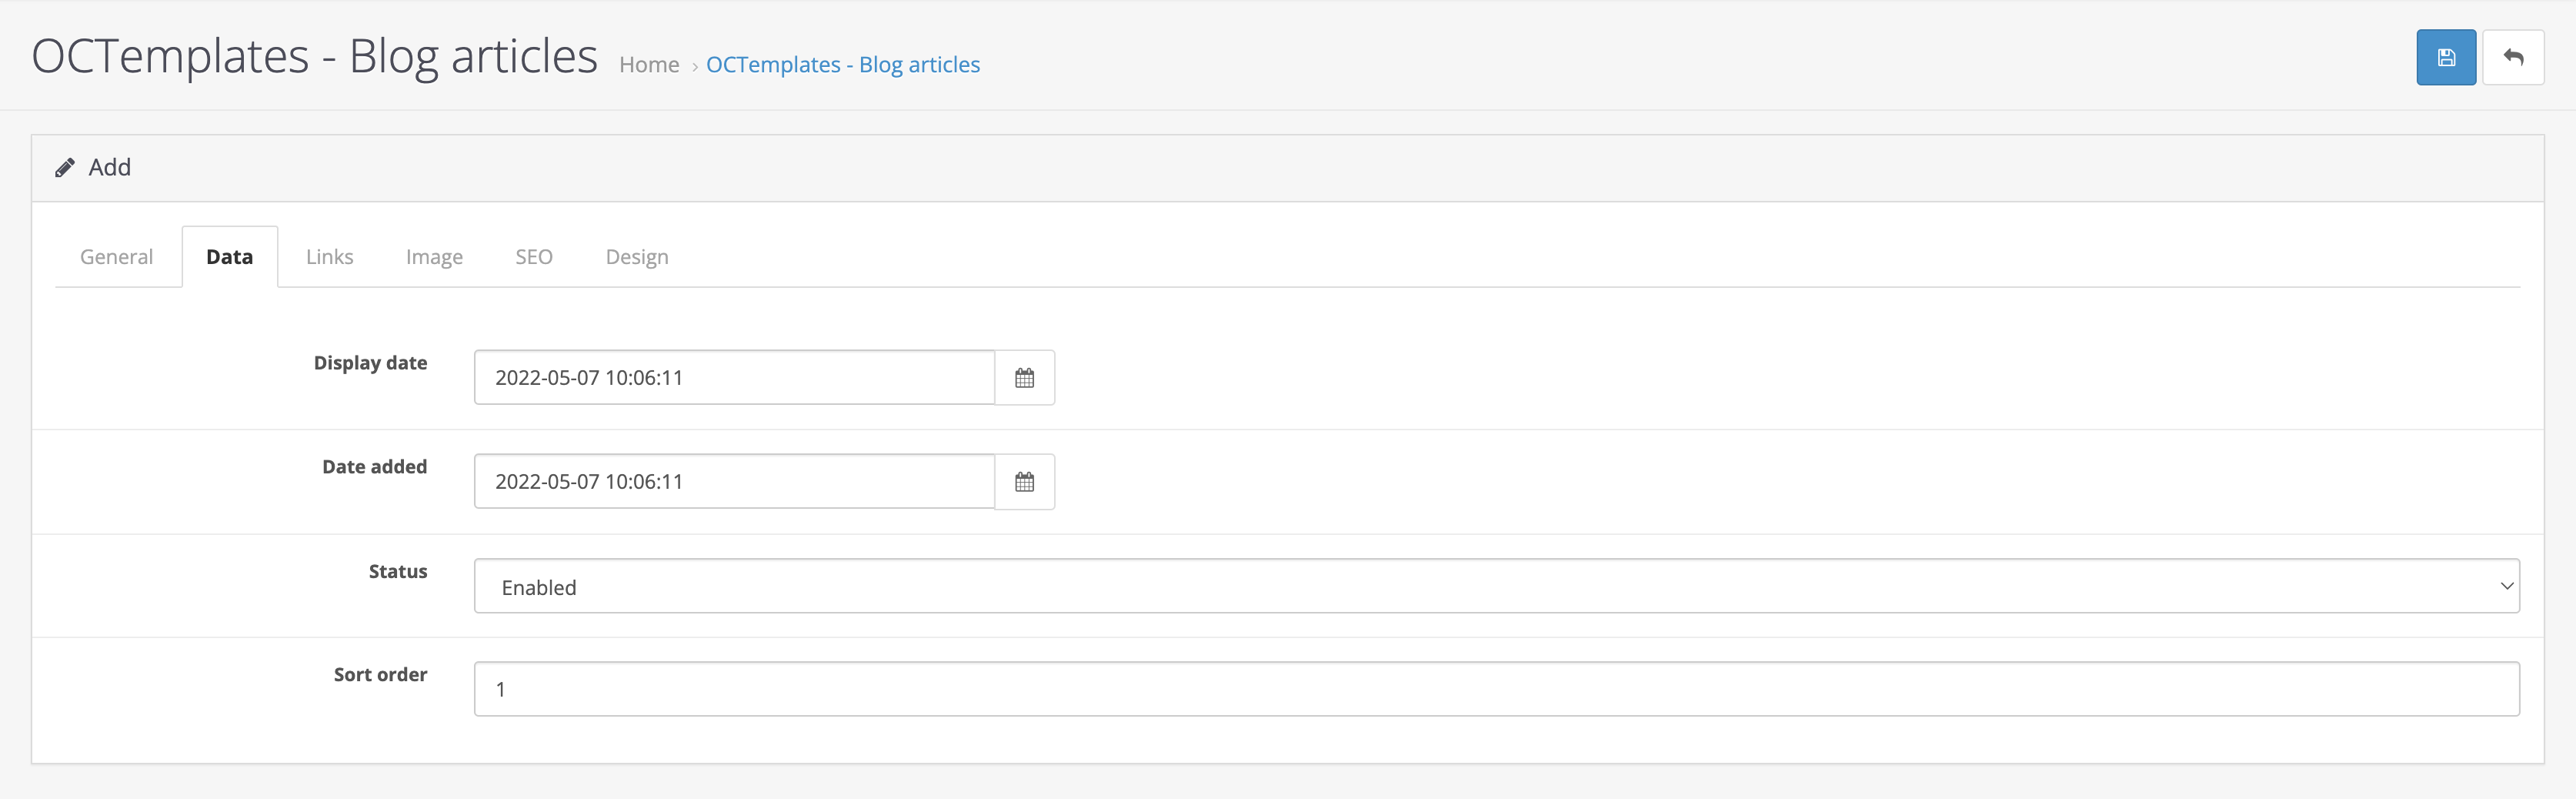
The "Data" tab contains the following fields:
- "Display date" — allows you to schedule delayed blog article posting;
- "Date added" — allows you to set the date when the blog post was added;
- "Status" — allows you to enable or disable article display on the site;
- "Sort order" — allows you to sort articles in the required order.
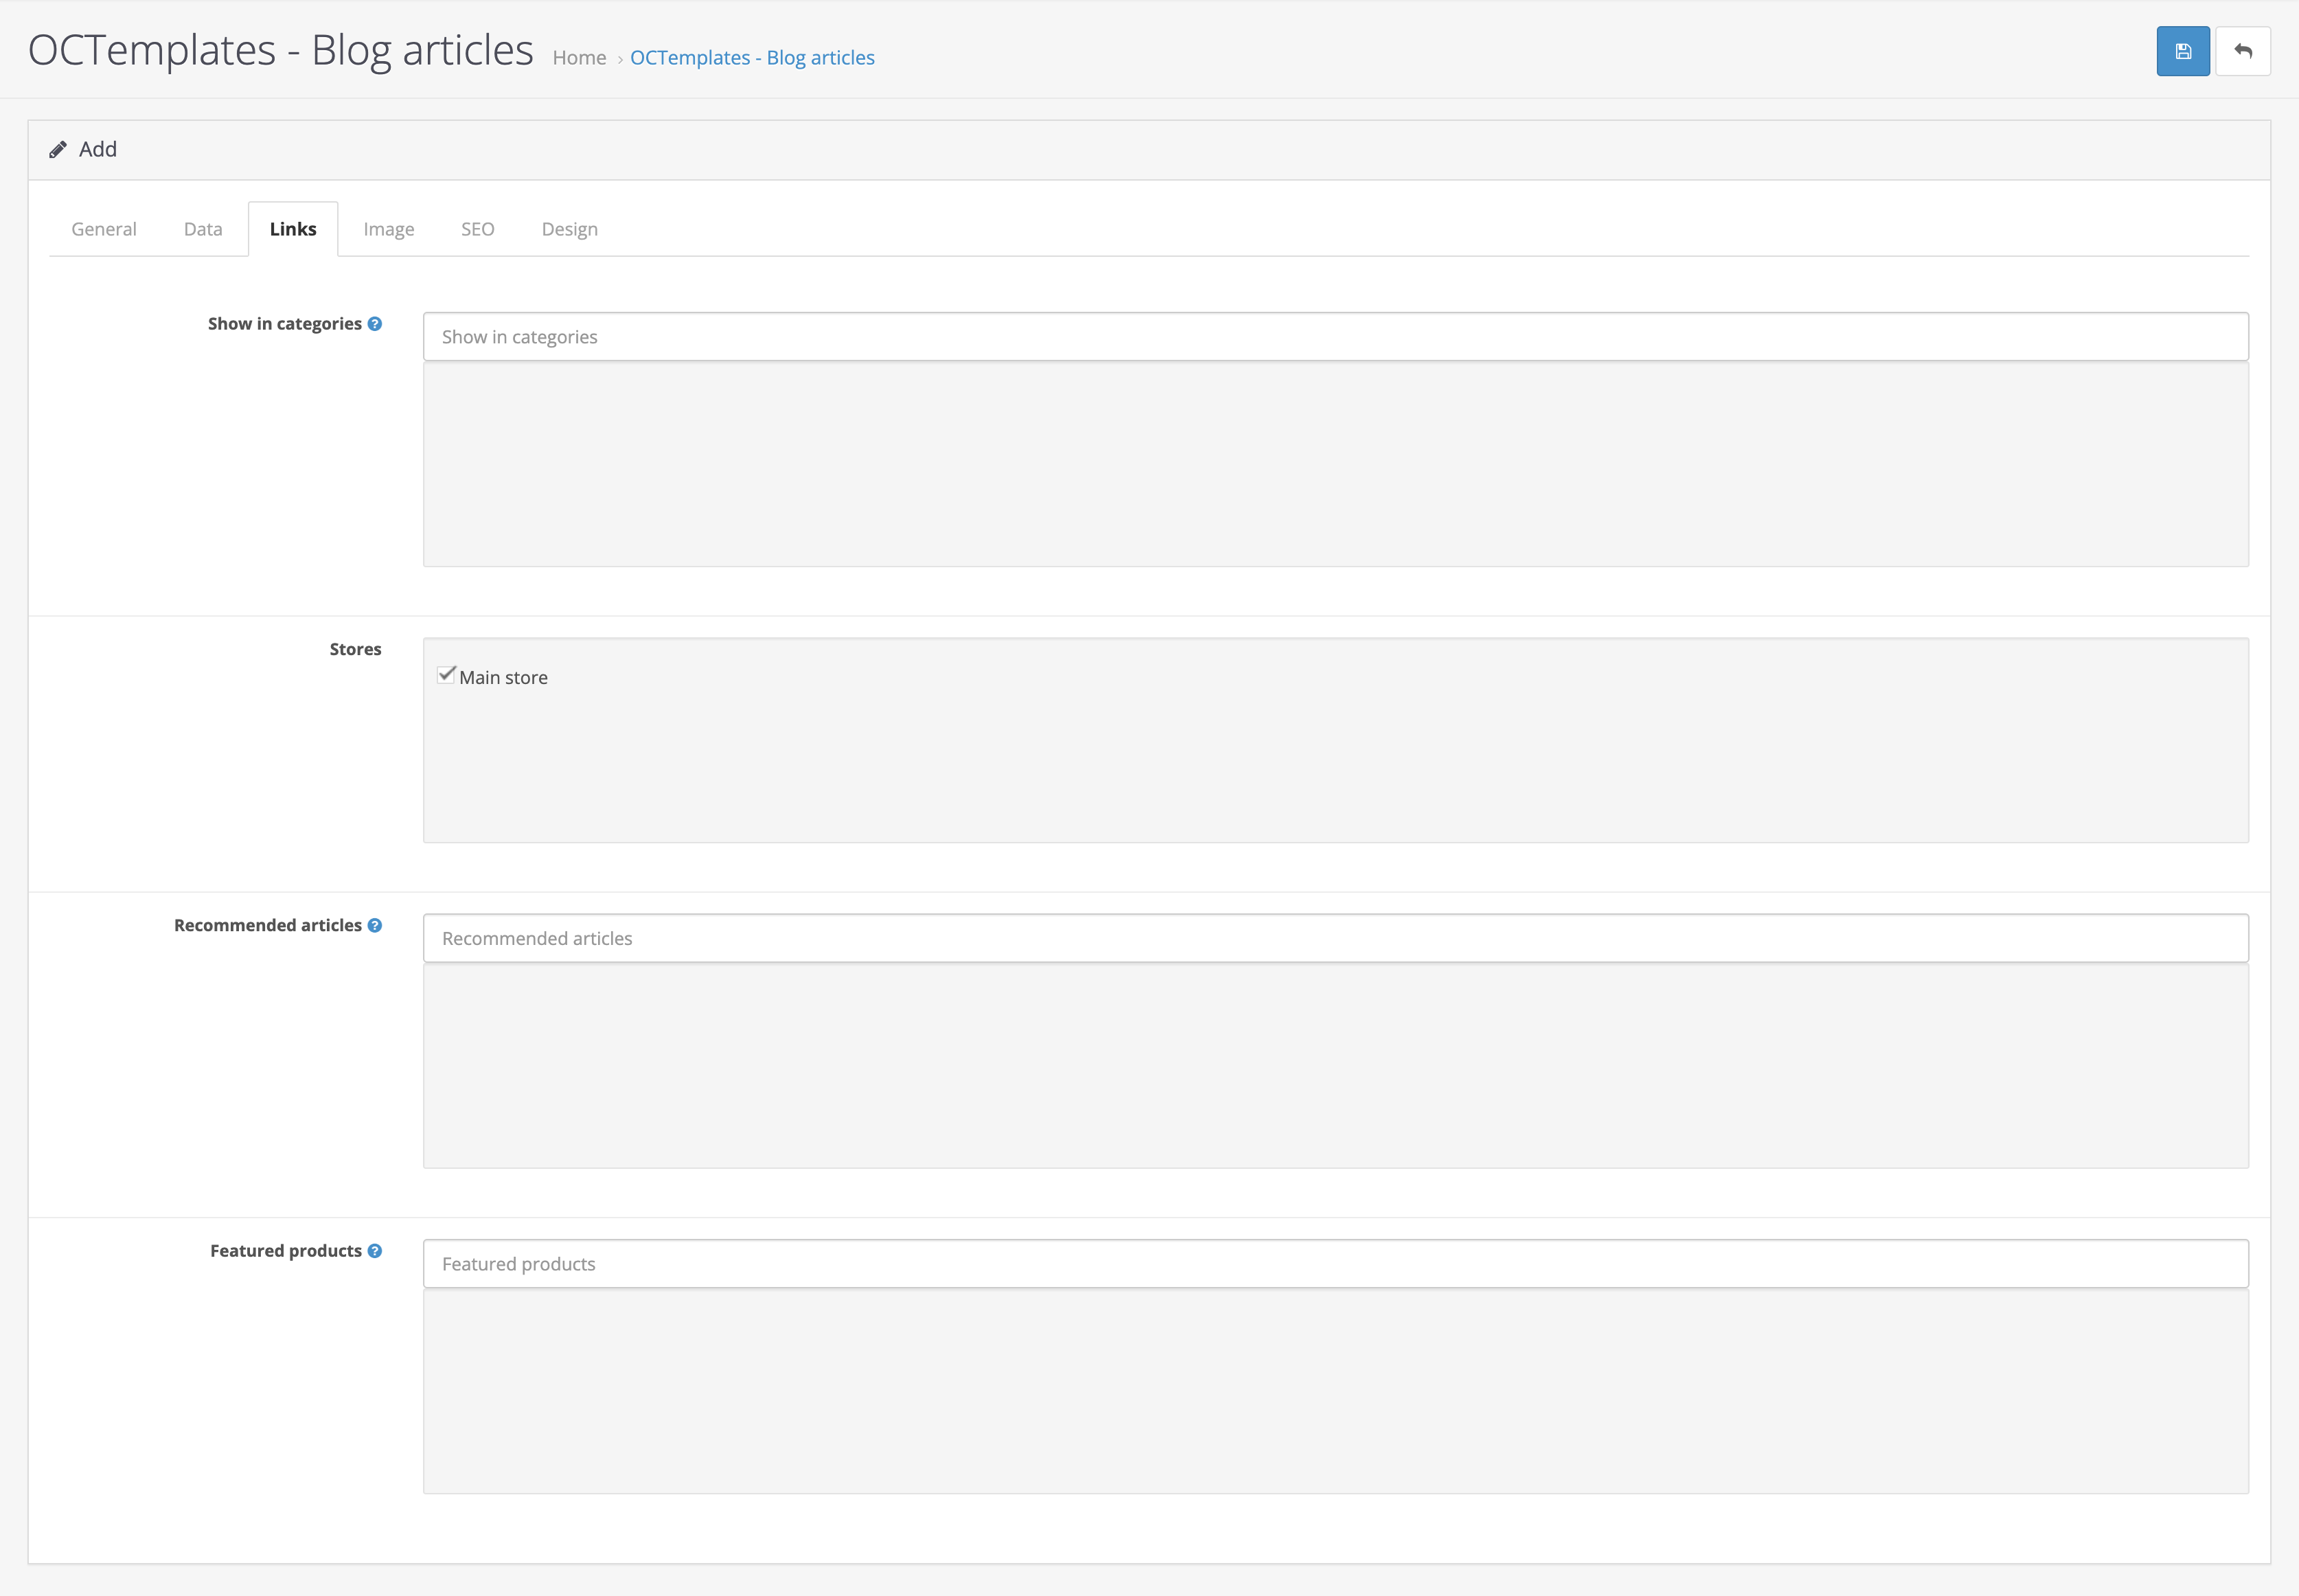
The "Links" tab contains the following fields:
- "Show in categories" — allows you to select the categories where the article will be displayed;
- "Stores" — allows you to work with articles when using multistore;
- "Recommended articles" — allows you to select articles that will be displayed in the "Recommended Articles" block inside the article;
- "Recommended products" — allows you to select products that will be displayed in the "Recommended Products" block inside the article.
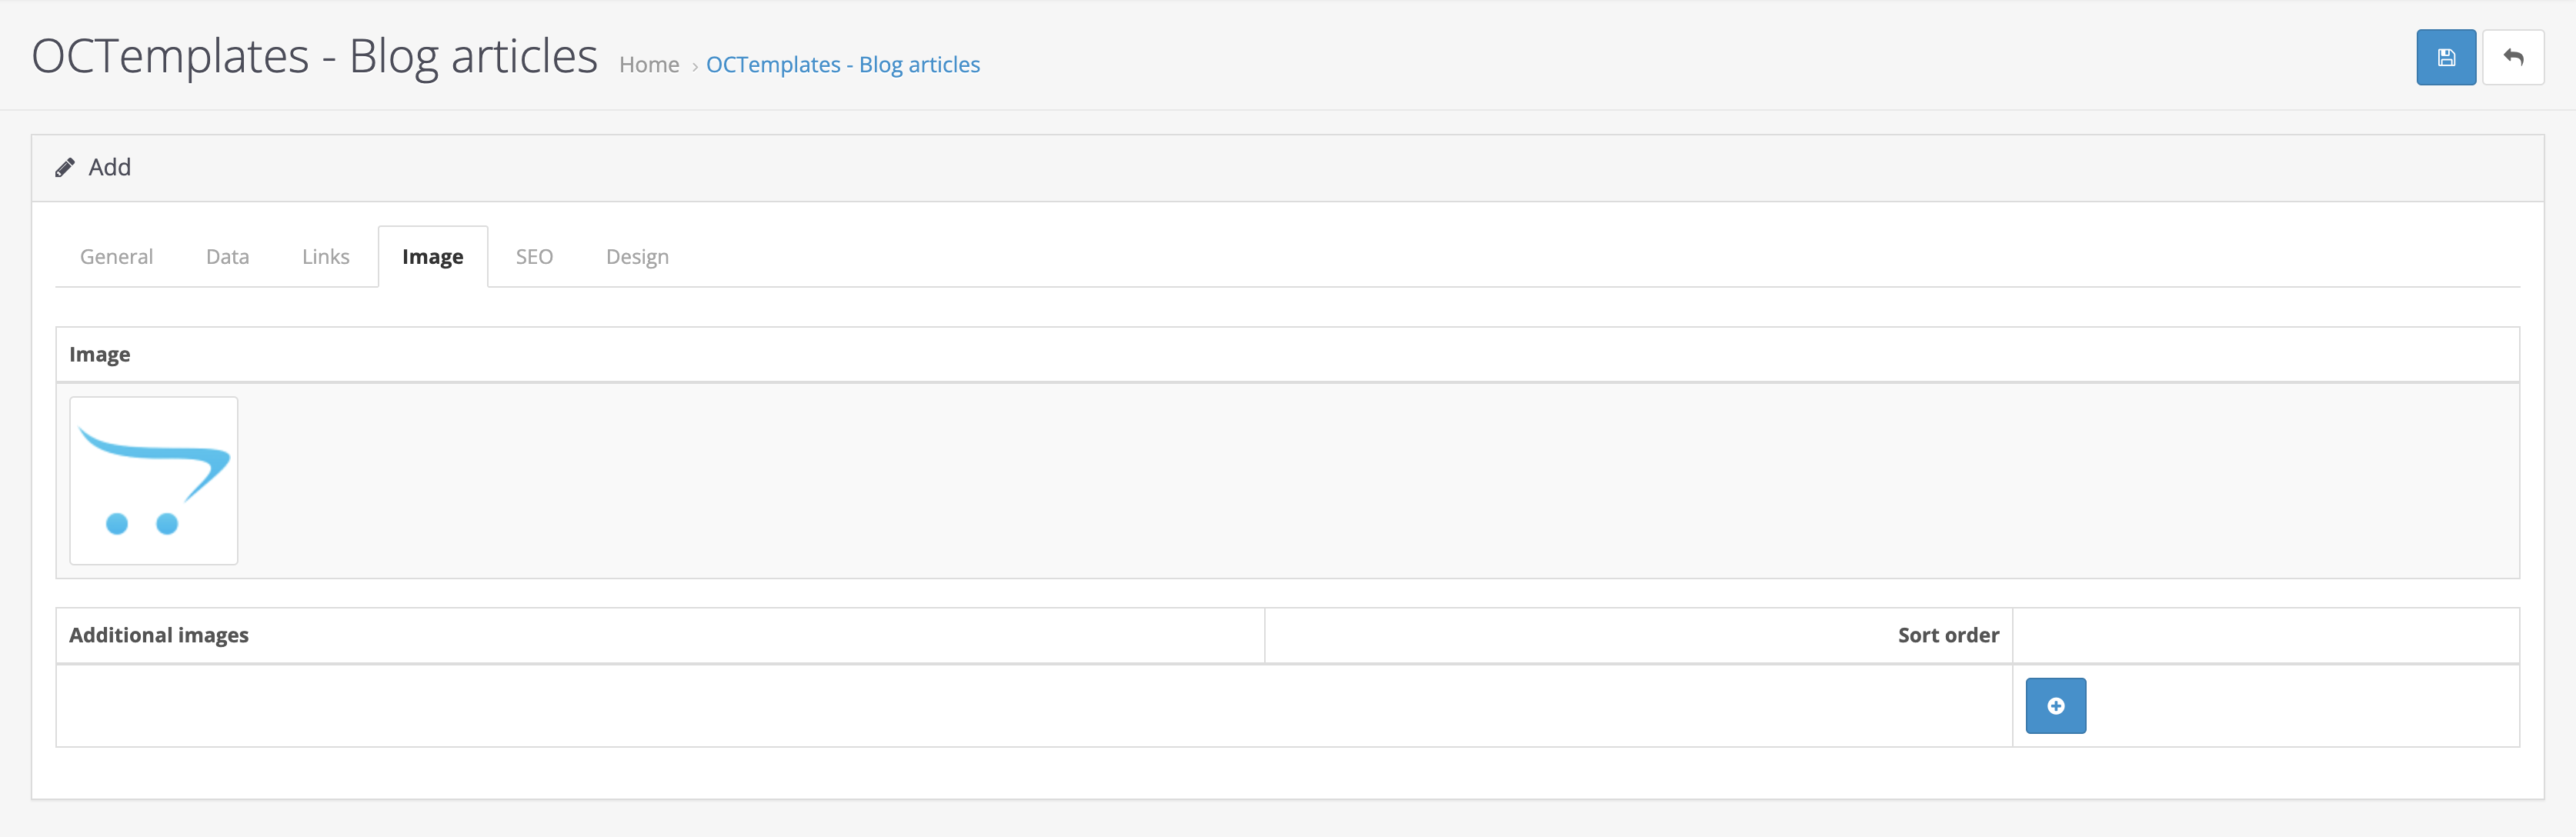
In the "Images" tab, you can upload and edit the main and additional images that will be displayed in the article body.
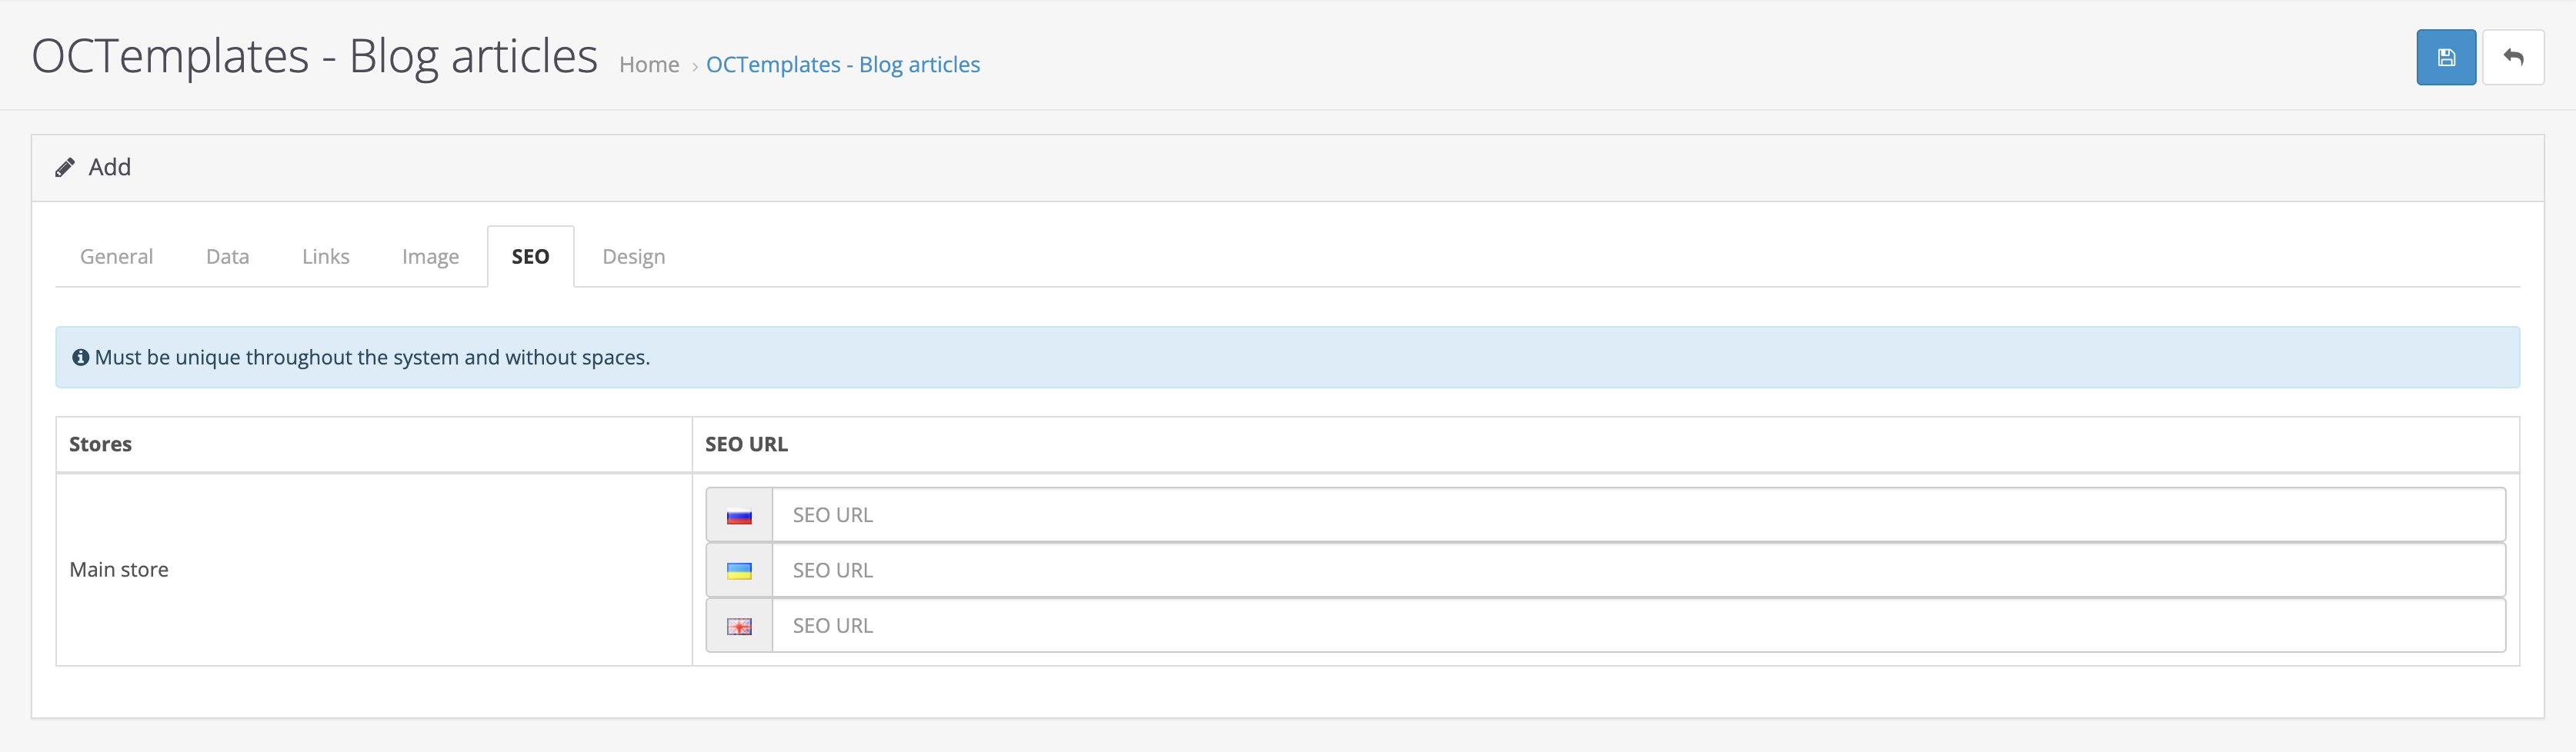
In the "SEO" tab, you can set the SEO URL for the article. SEO URL support for multistore is available. The SEO URL must be unique across the entire system and must not contain spaces.
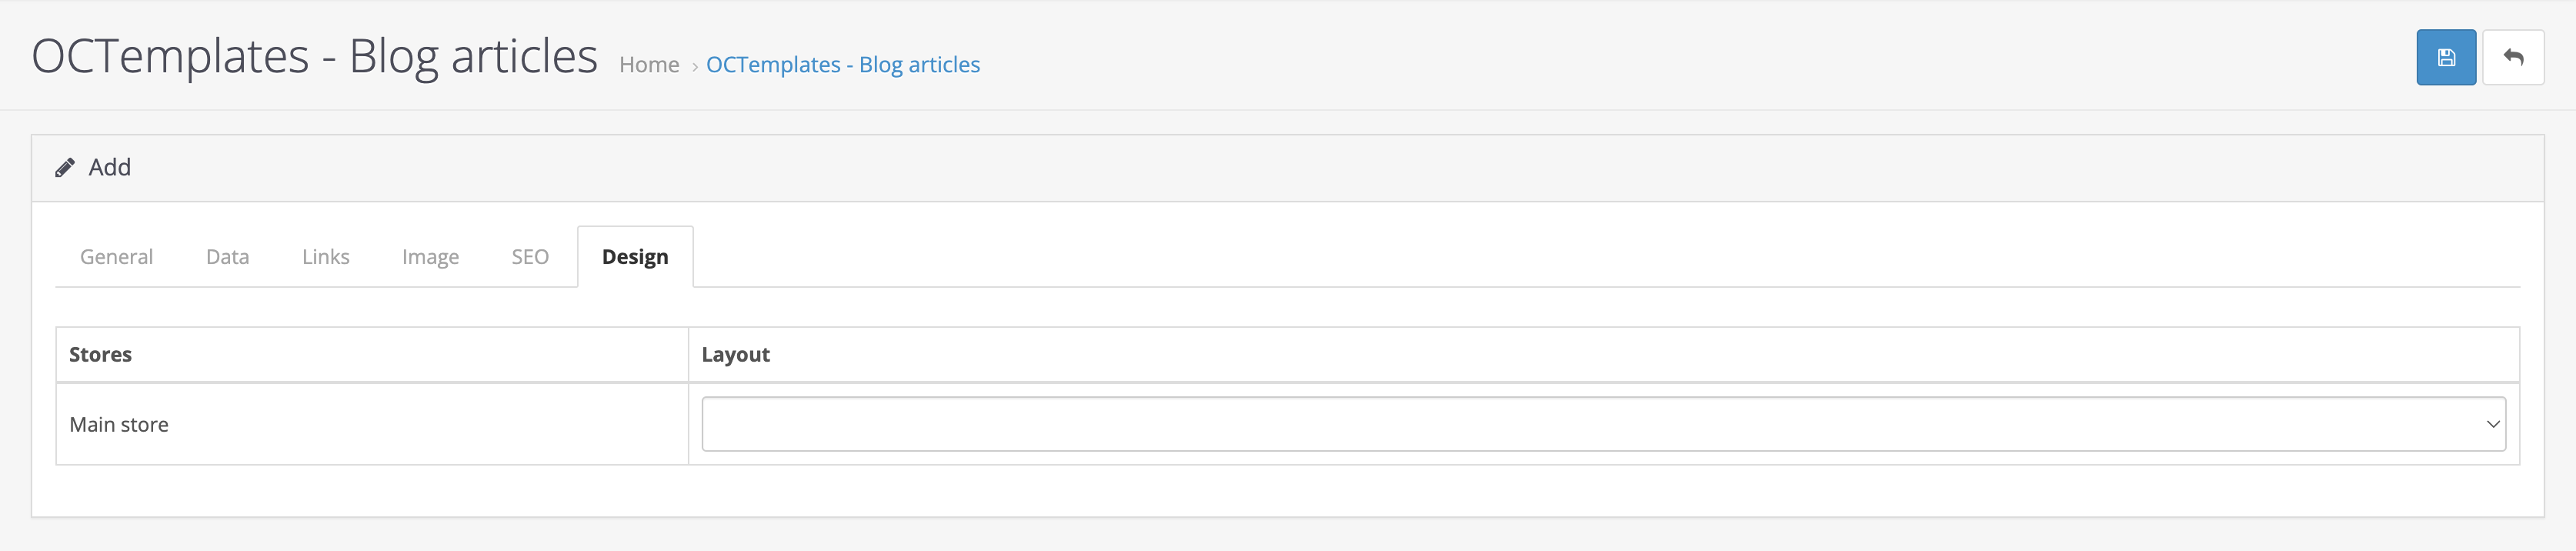
In the "Design" tab, you can select a prepared design layout.
Blog comments
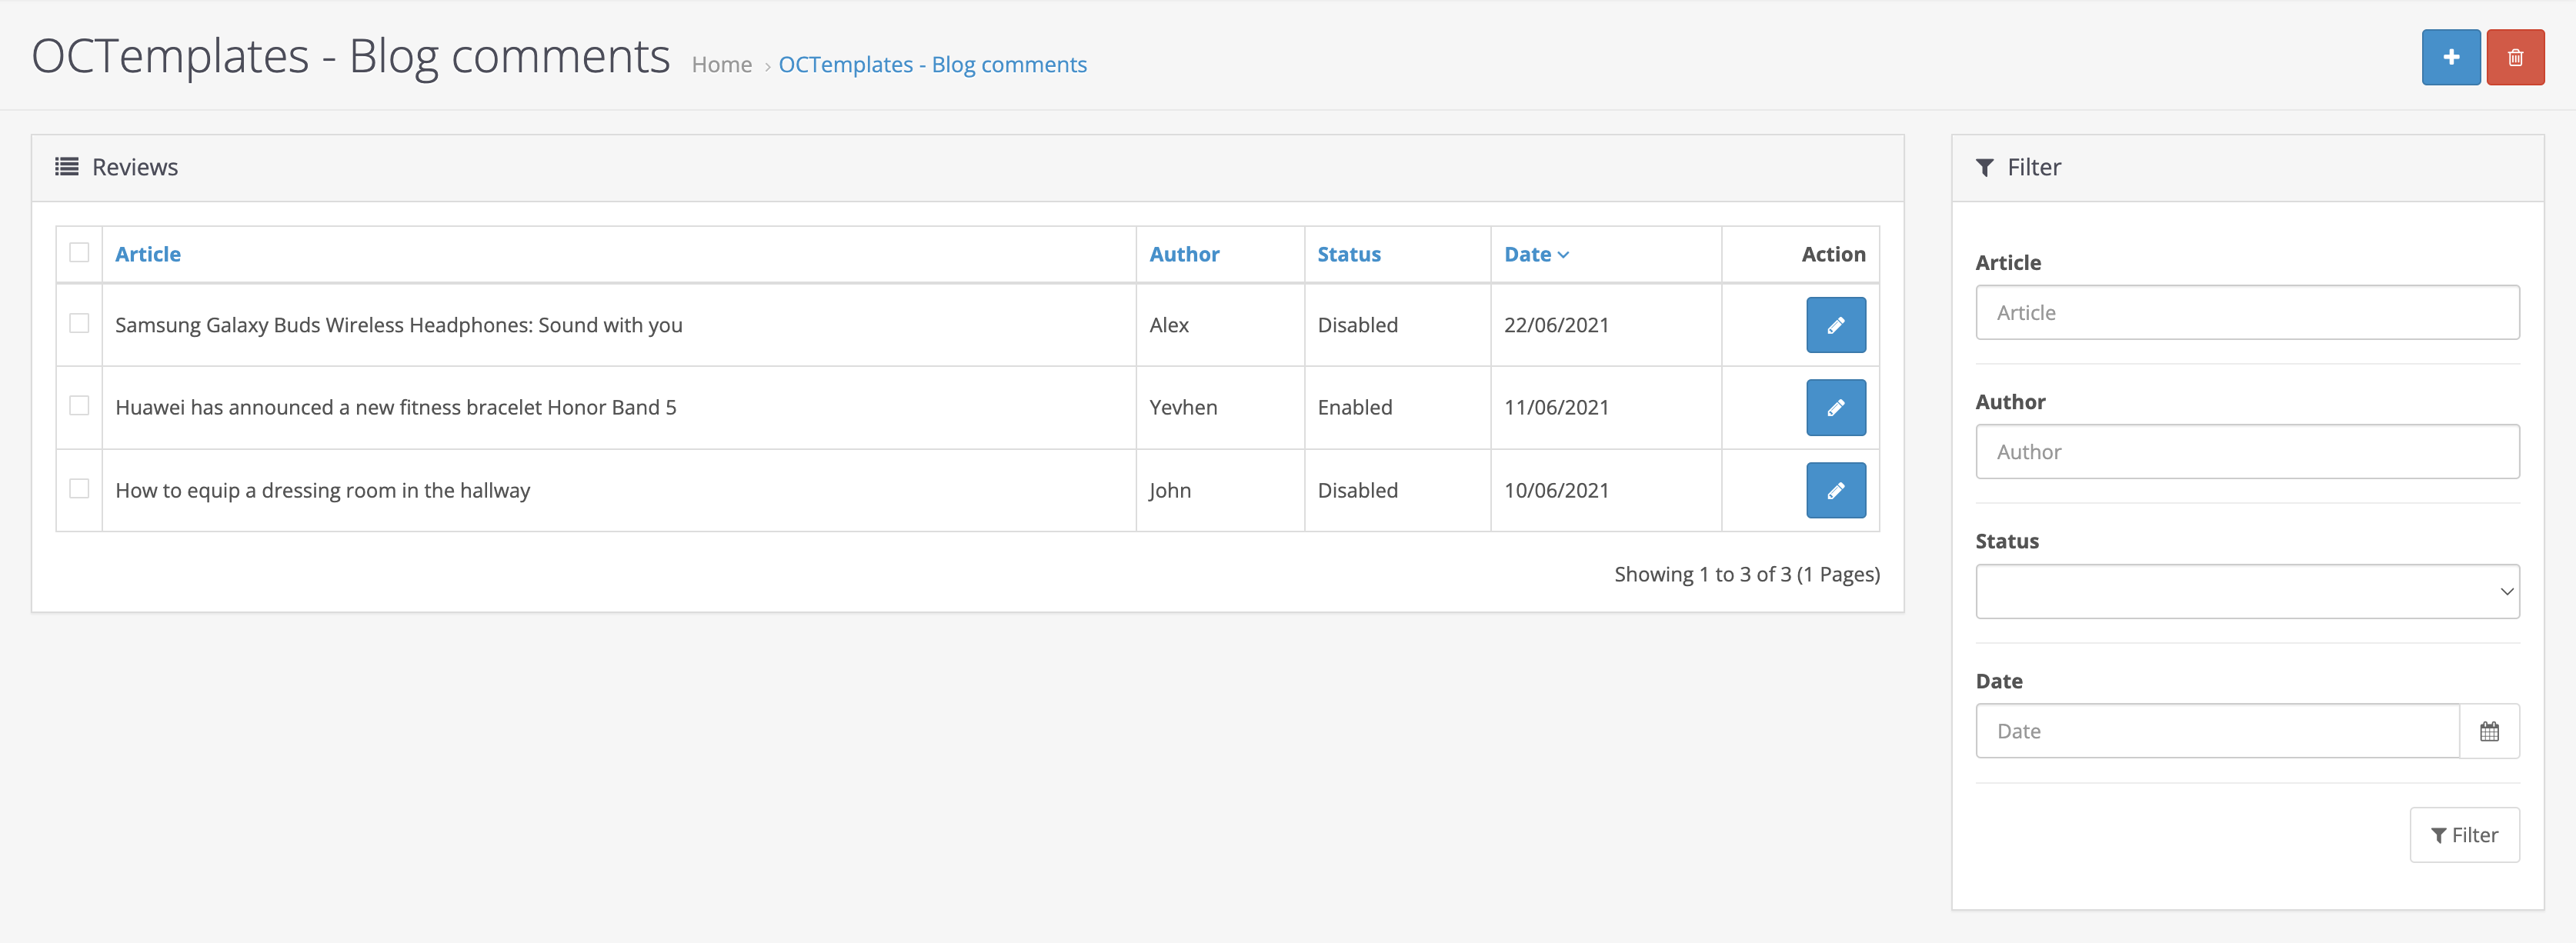
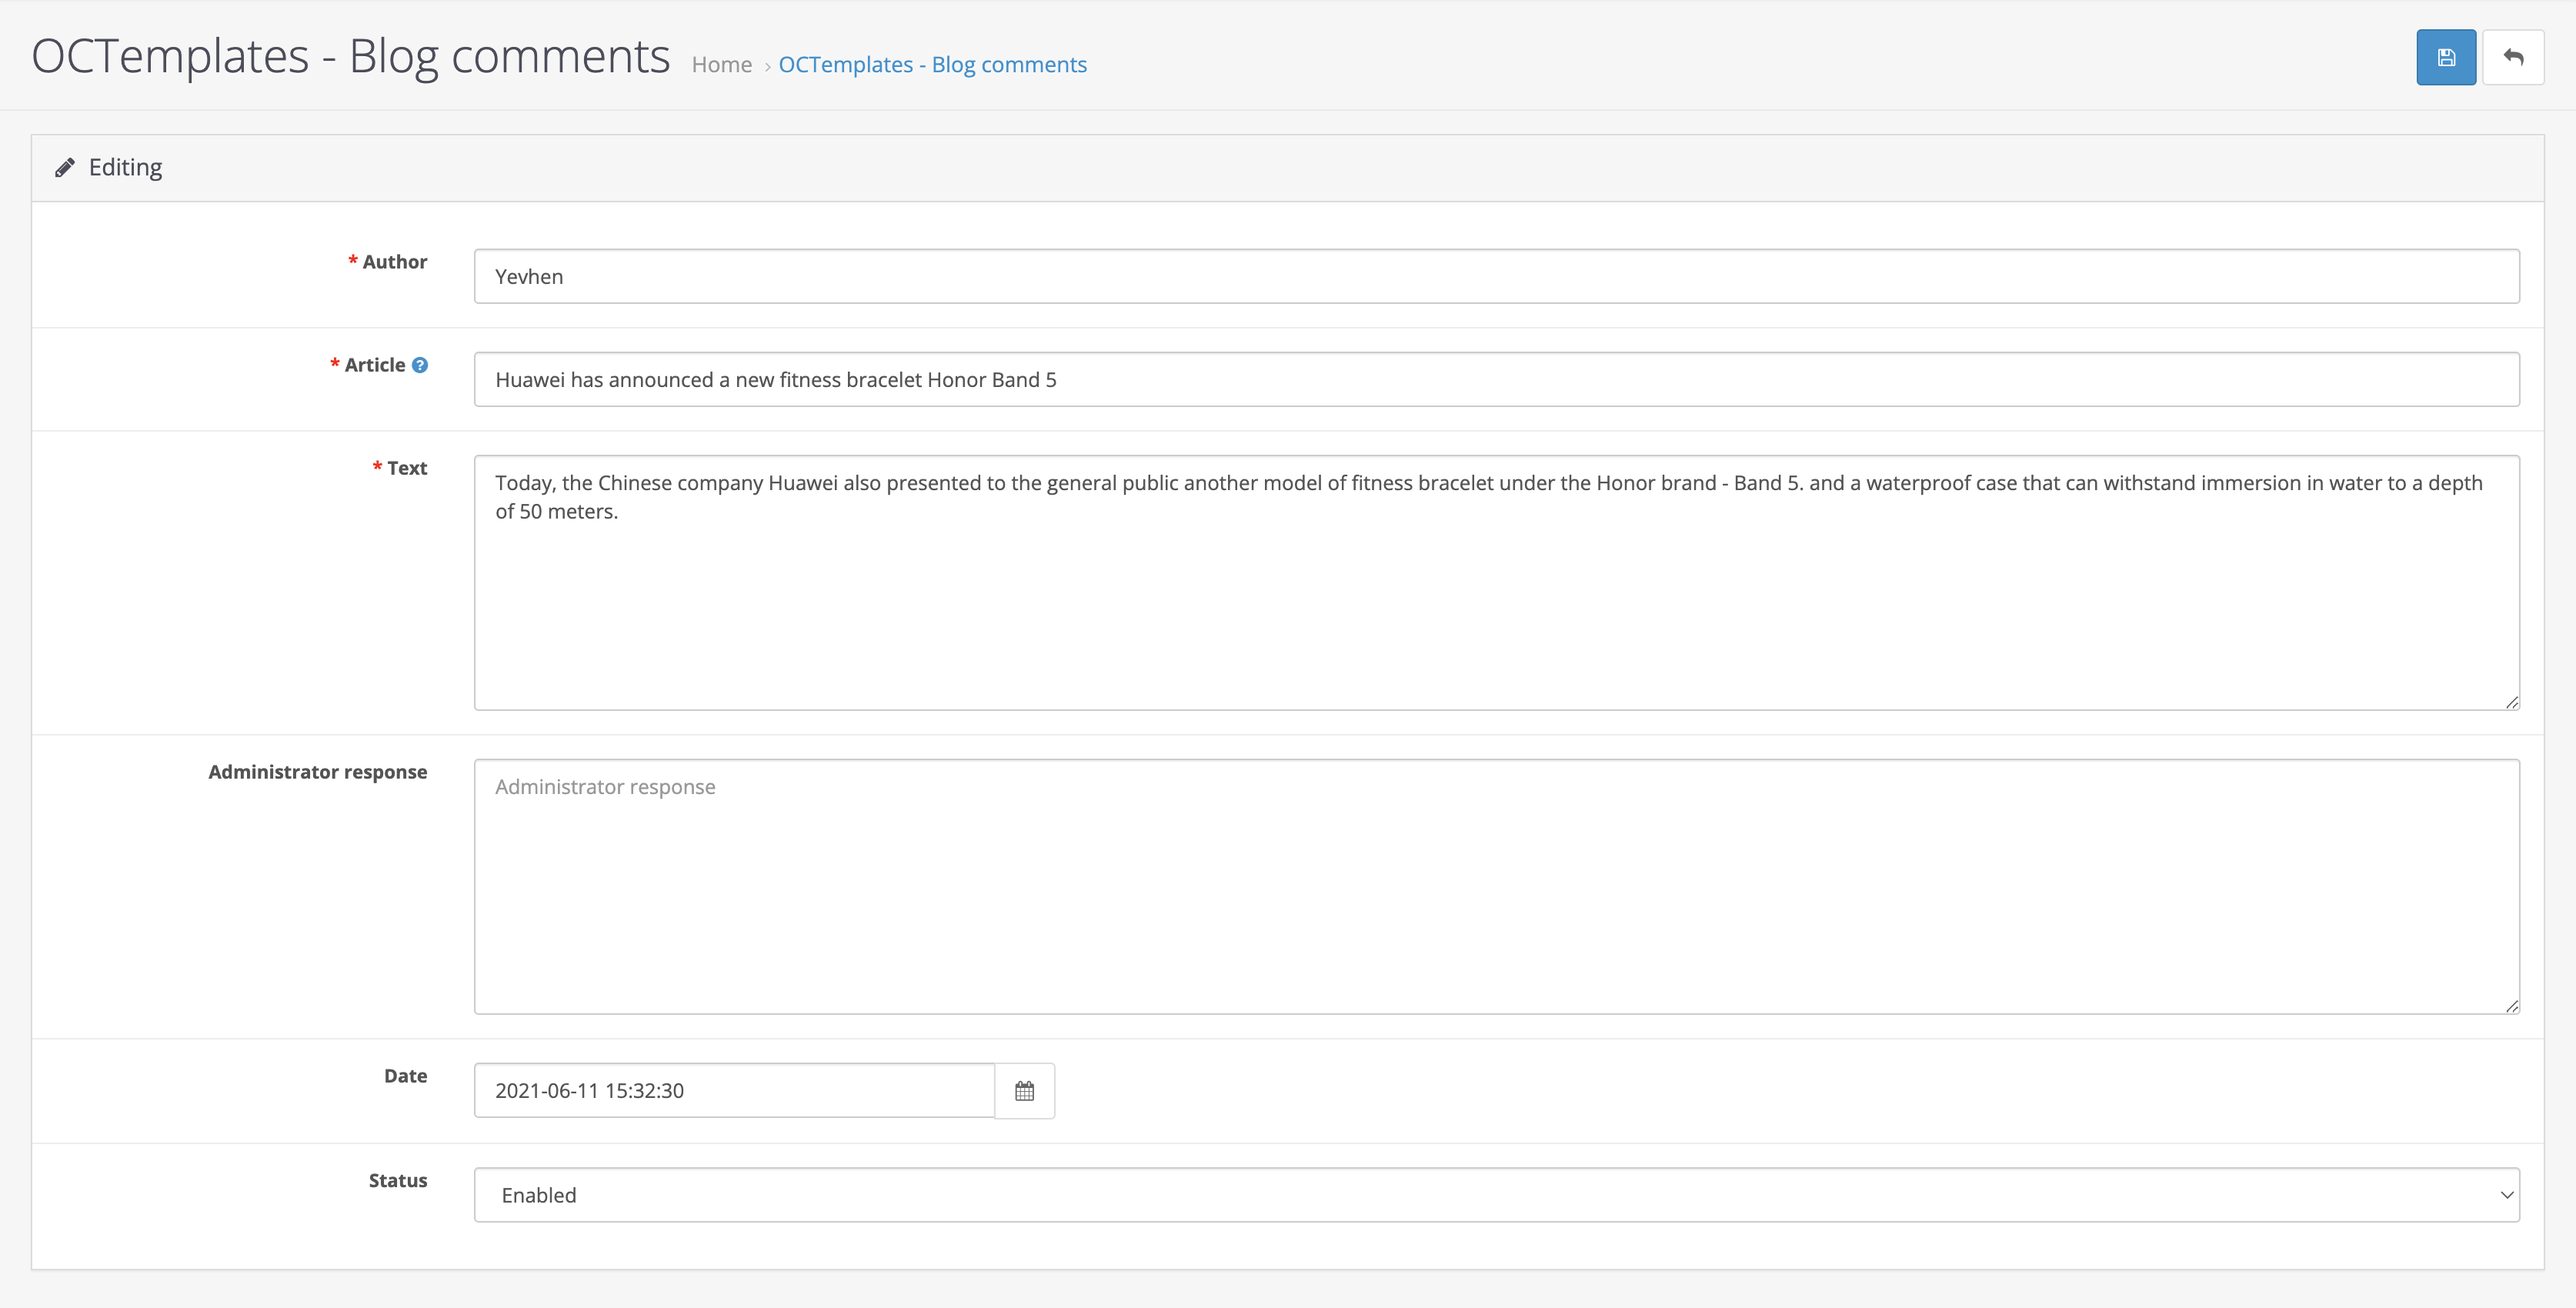
On the "Blog Comments" page, you can moderate and delete comments left by users on specific articles, as well as reply to them on behalf of the administrator. Here you can also search existing comments by article title, comment author, "Enabled" and "Disabled" status, as well as by comment creation date.
To moderate or edit a comment, click the "Edit" button next to the required comment.
After you click "Edit", you will be taken to the comment editing page. The following fields will be available for editing:
- "Author" — allows you to edit the comment author's name;
- "Article" — used to select the article where the comment will be displayed;
- "Text" — intended for displaying the comment text;
- "Administrator reply" — intended for the administrator's reply to the user's comment;
- "Date" — allows you to edit the comment date;
- "Status" — allows you to enable or disable comment display.
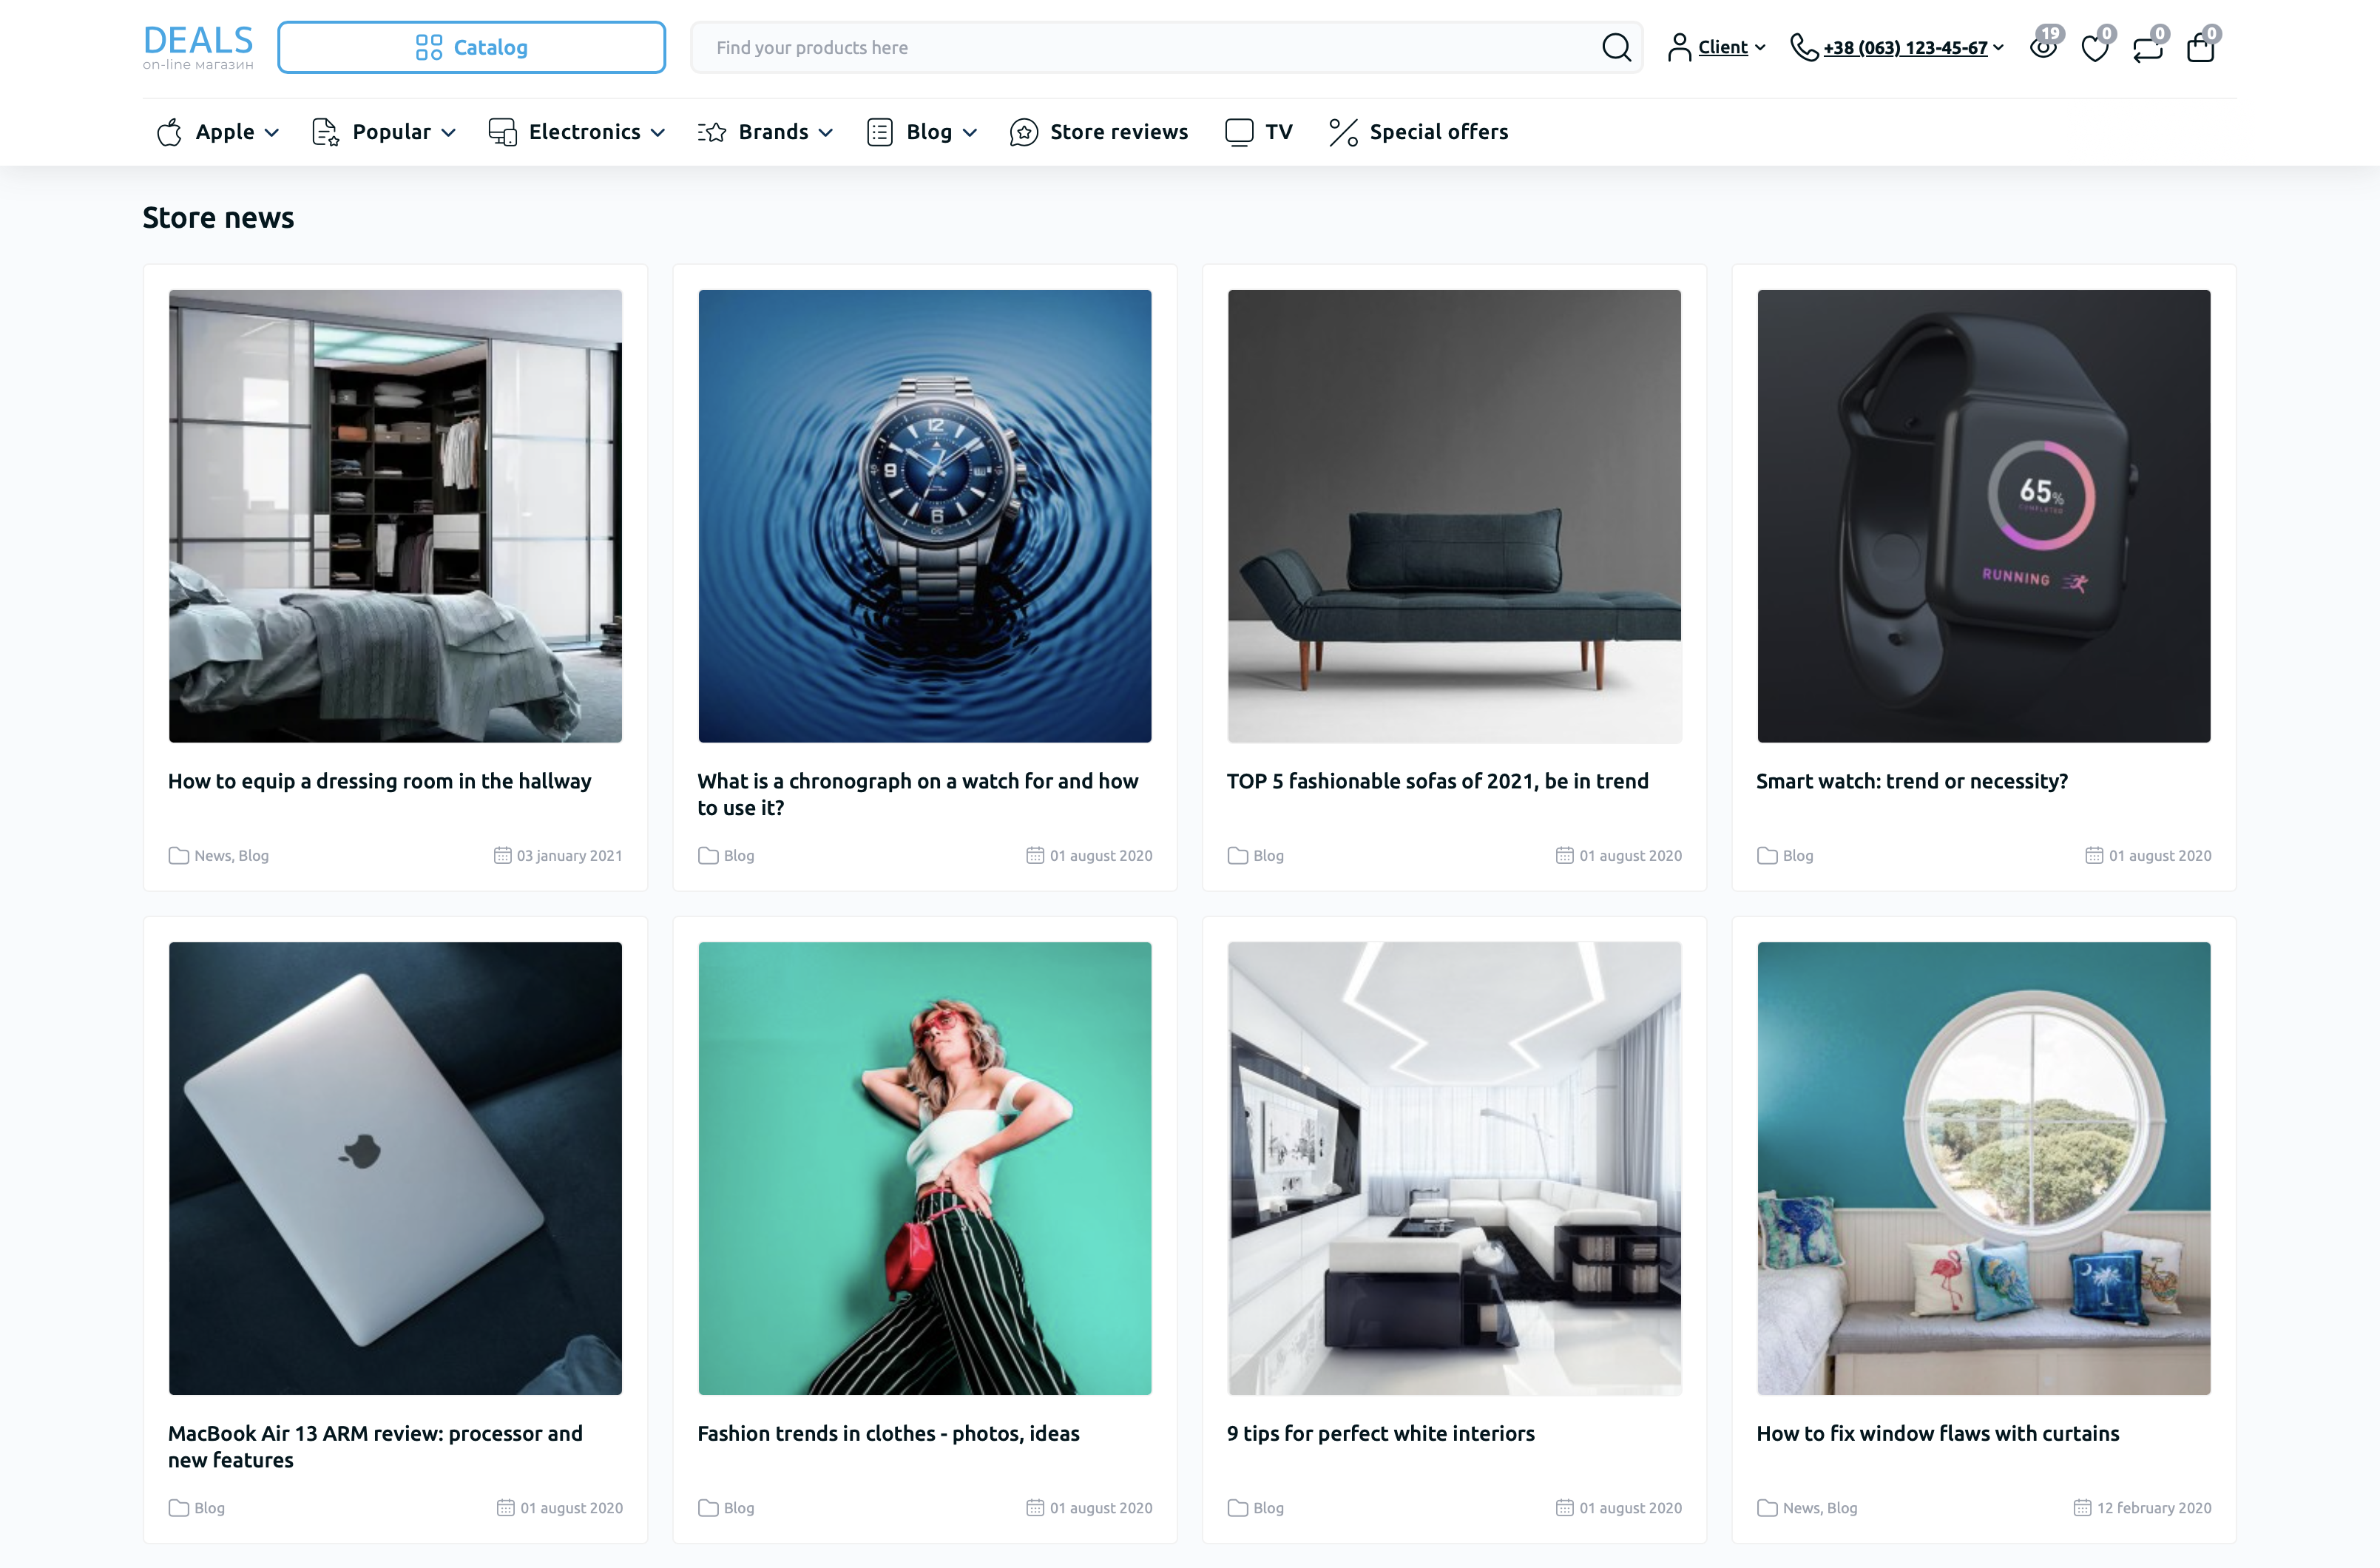
The "Latest Articles" module
The "Latest Articles" module allows you to display a block with the latest blog articles anywhere on the site.
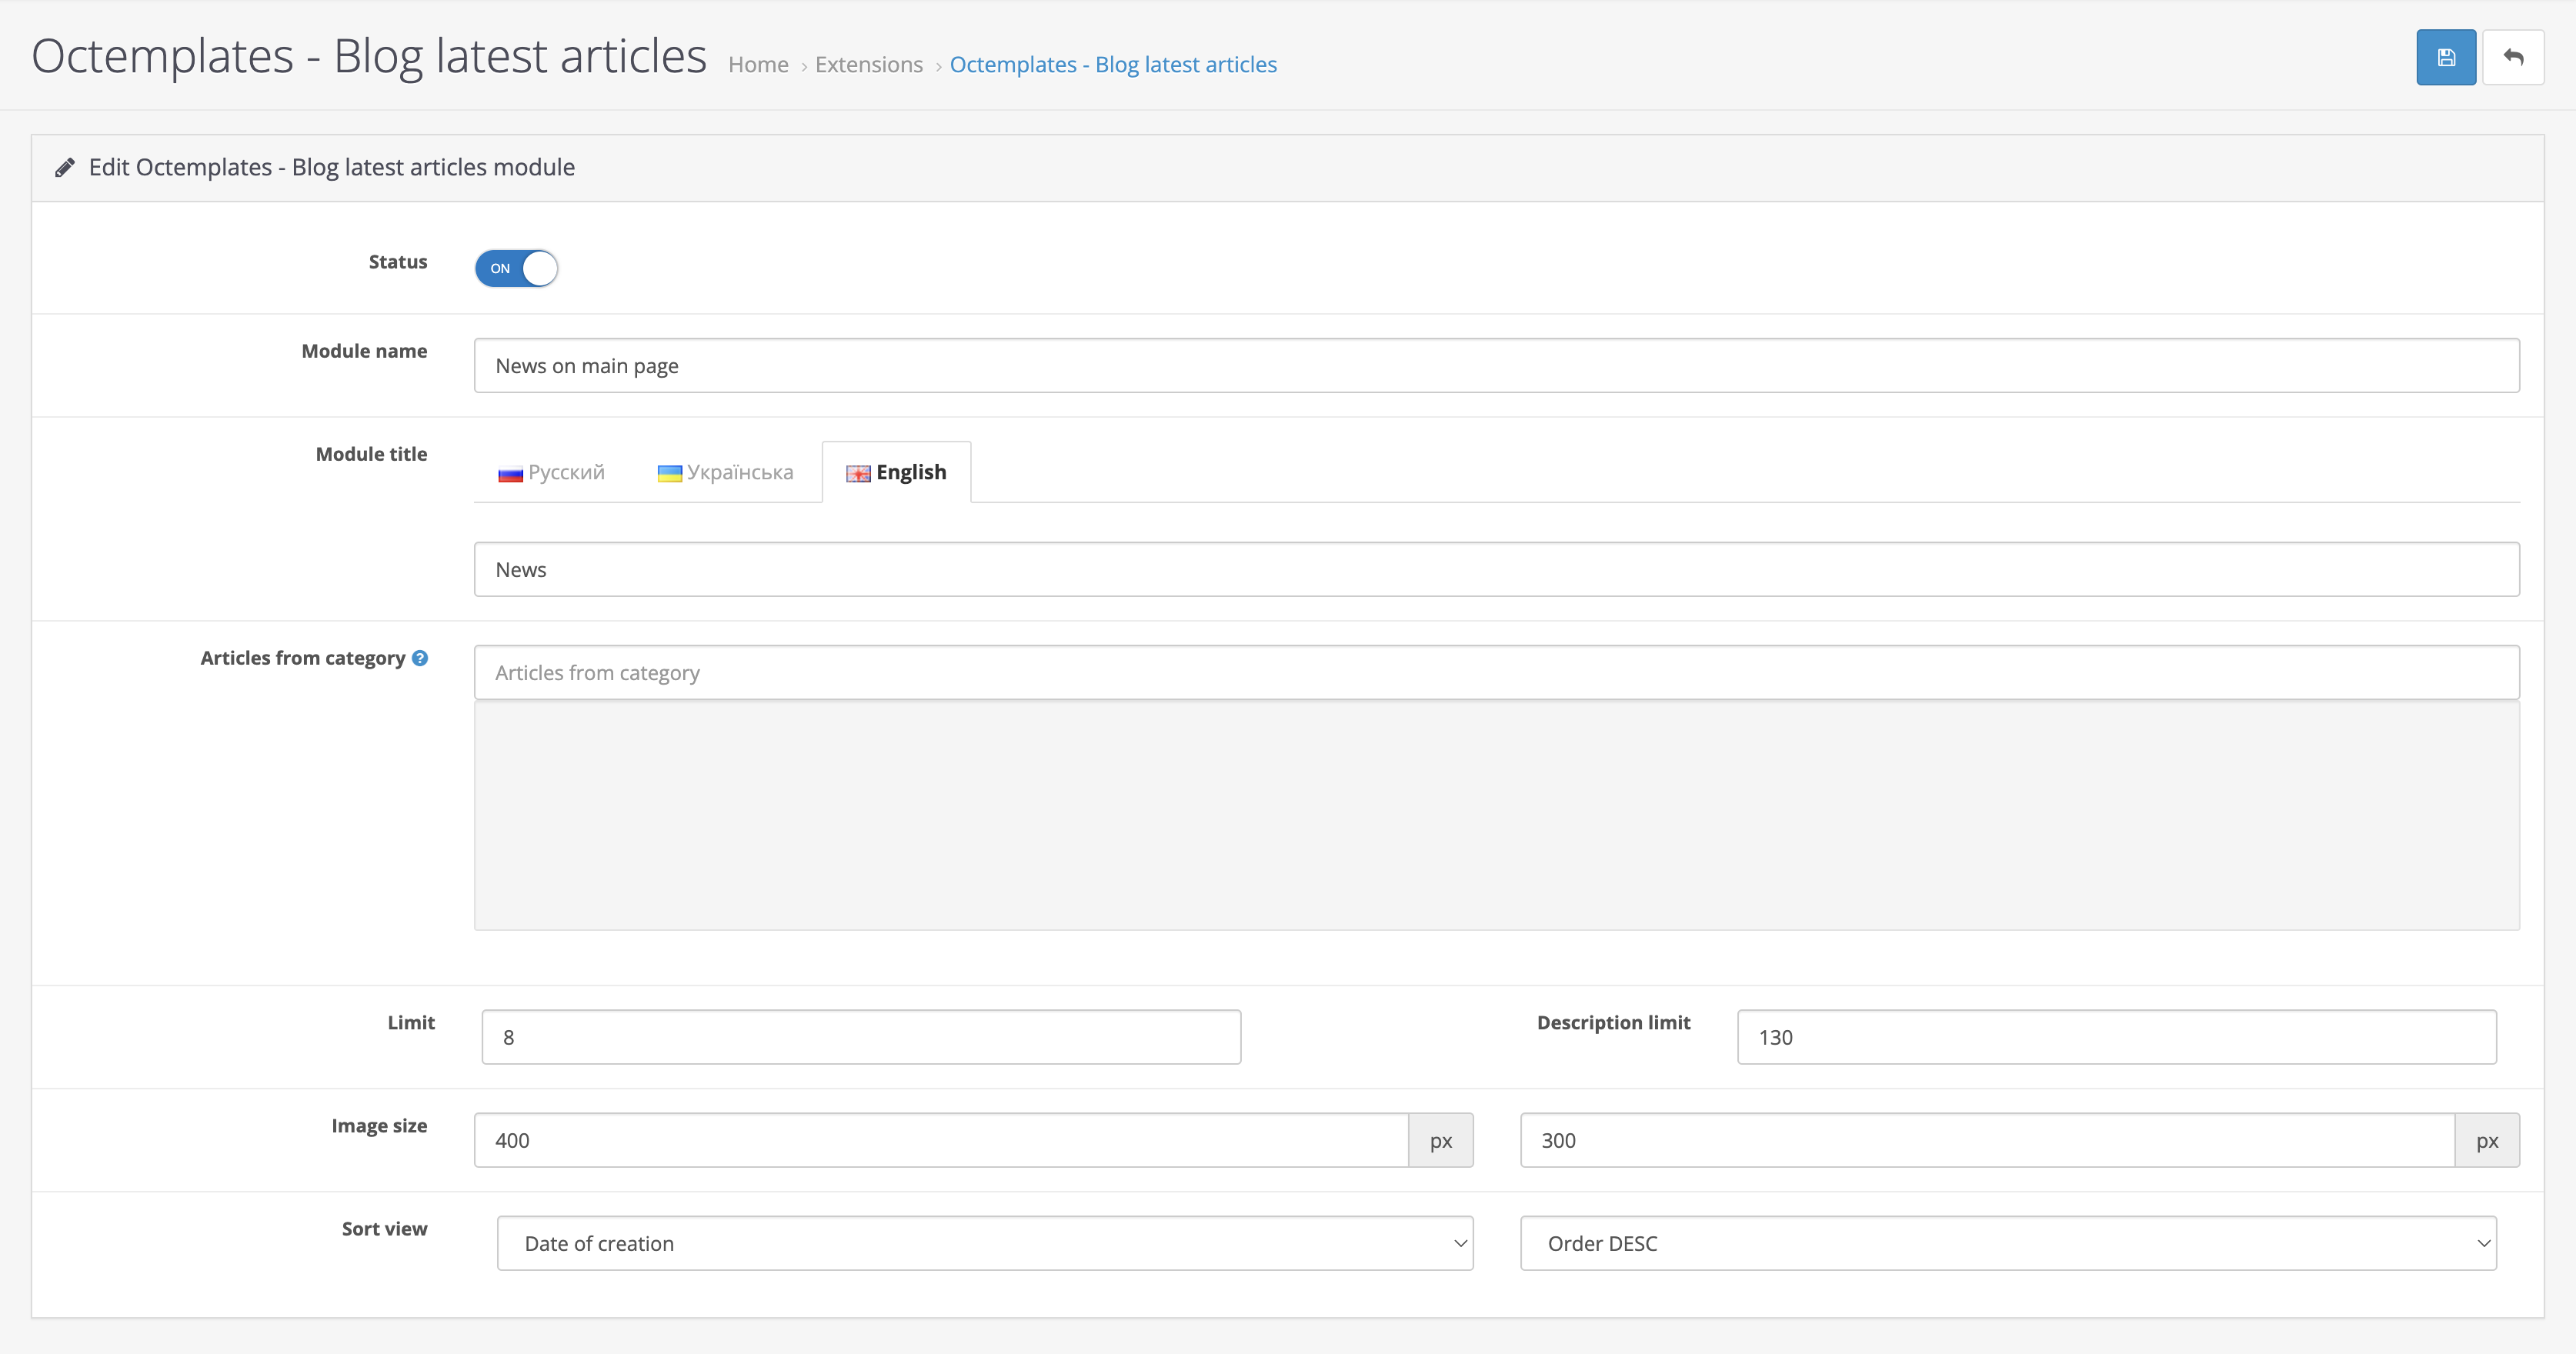
To configure the module, go to "Modules / Extensions" - "Modules / Extensions" and click the "Add" button next to the module name.
On the page that opens, you will see the following settings:
- "Status" — allows you to enable or disable the module;
- "Module name" — used to enter the module name so that it is easier to find in "Design -> Layouts";
- "Module title" — intended for displaying the title in the module block;
- "Categories" — intended for selecting articles from specific categories. If the field is left empty, articles will be selected from all categories;
- "Limit" — allows you to set the number of articles to display in the module block;
- "Number of characters" — allows you to set the number of characters displayed in the short description in module article blocks;
- "Image size" — allows you to set the width and height of the article image in pixels in module article blocks;
- "Sorting" — allows you to sort articles in the module by specified criteria.
Write a comment